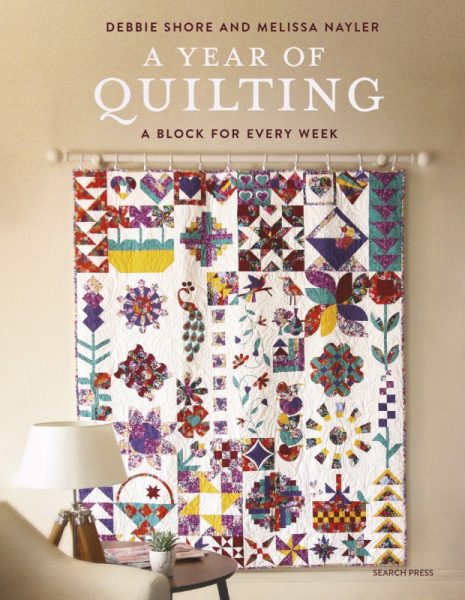
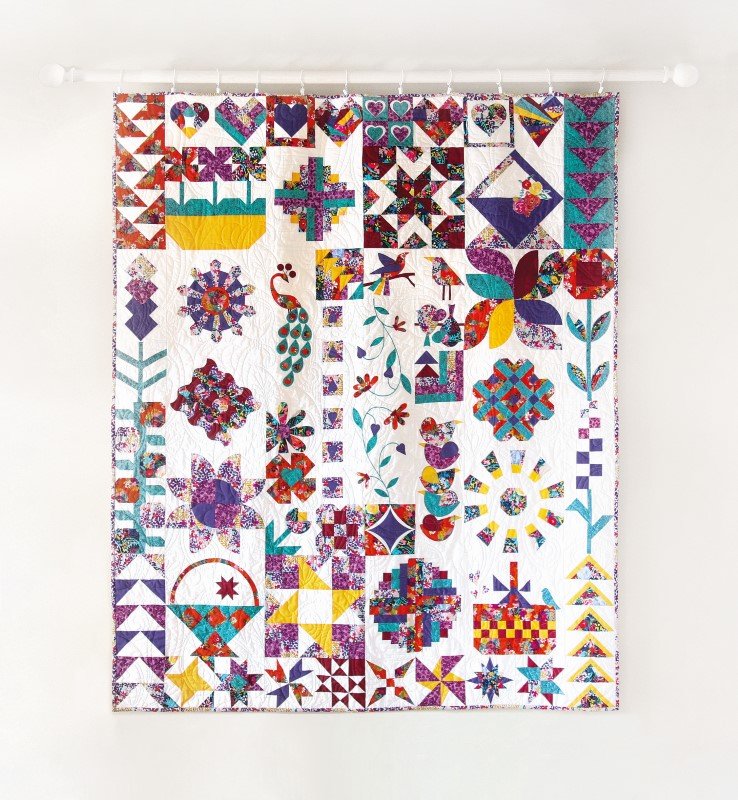
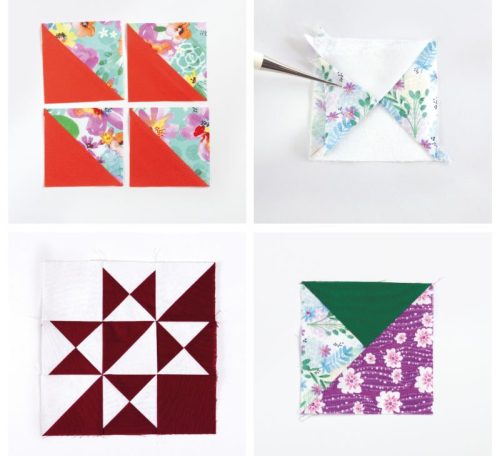
This extract from a Year of Quilting by Debbie Shore and Melissa Nayler teaches you how to sew triangles in 6 different ways. Their book teaches you how to make a different quilt block each week of the year, showing you lots of new techniques along the way. The techniques you’ll learn include curved piecing, applique, foundation paper piecing and crazy patchwork.
SQUARE TRIANGLES
The use of Half Square, Quarter Square and Split Quarter Square triangles in quilts has become very popular and there are various ways of making one at a time or in multiples. We tend to make ours slightly larger than required and then trim to size for accuracy. Where these units are used in this book, appropriate cutting instructions are provided.
Tip
Many of the blocks in the quilt will have sets of triangles cut off. Some will be too small for re-use, but others could be stitched together along the diagonal seam line to create a smaller Half Square Triangle. Store them in your stash for use at a later date.
SINGLE HALF SQUARE TRIANGLE
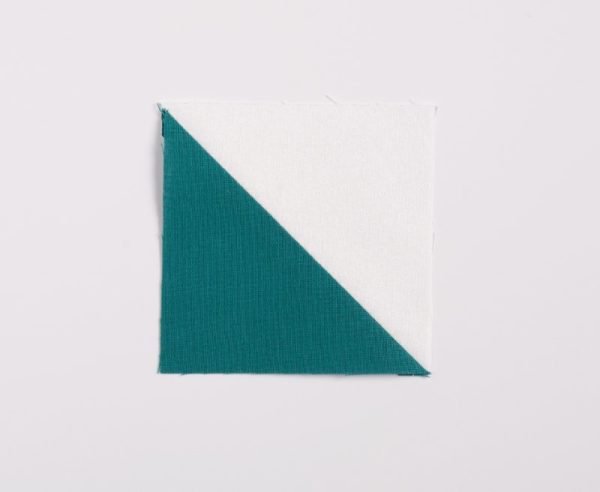
Cut two squares of contrasting fabric that are the unfinished size of the desired Half Square Triangle unit.
On the wrong side (WS) of one square (usually the lighter fabric), draw a diagonal line from one top corner to the opposite bottom corner with a pencil or fabric marker (it doesn’t matter which way).
With right sides (RS) together, stitch along the line.
Trim one side of the seam to a ¼in (5mm) seam allowance.
Either press the seam open or, if you prefer, press towards the darker fabric. Store the leftover triangles in your stash for a future project.
TWO-IN-ONE HALF SQUARE TRIANGLES
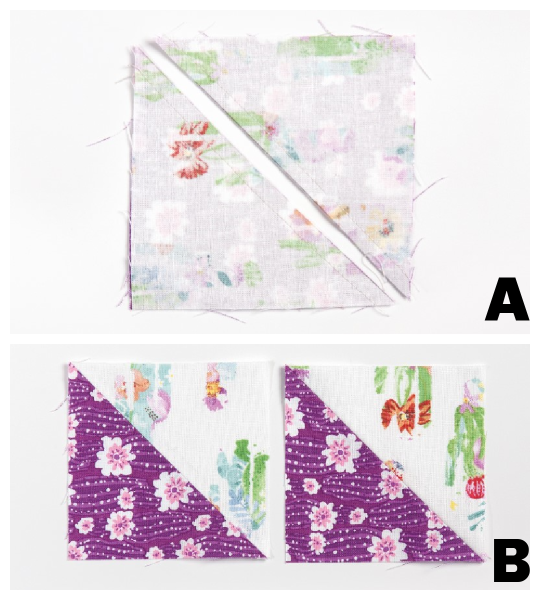
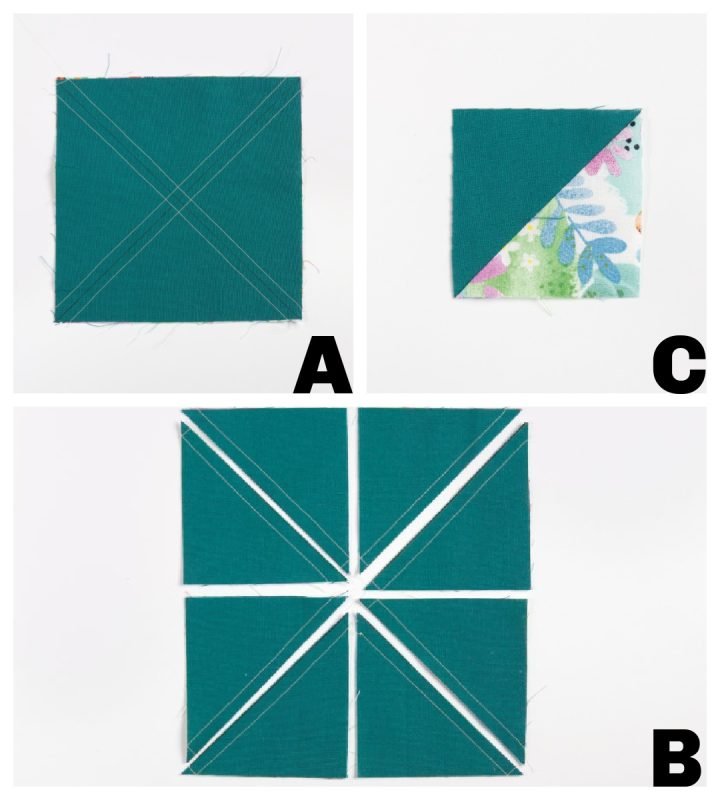
Cut two squares of contrasting fabric that are 1in (2.5cm) larger than the finished size of your desired Half Square Triangle unit. On the wrong side (WS) of one square (usually the lighter fabric), draw a diagonal line from top to bottom with a pencil or fabric marker (it doesn’t matter which way).
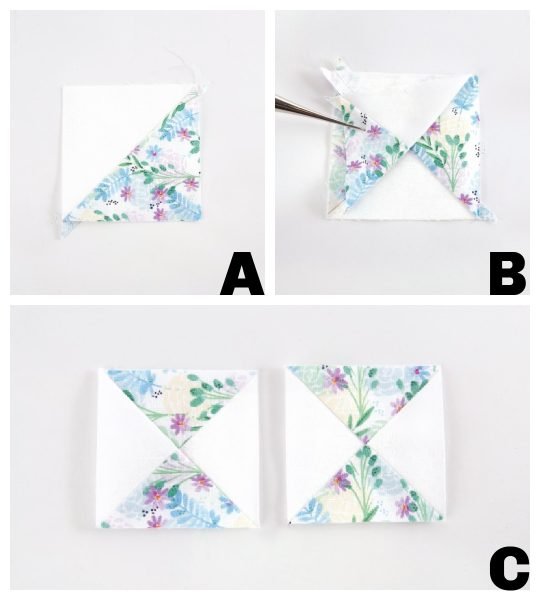
With right sides (RS) together, sew a ¼in (5mm) away from each side of the drawn line, then cut in half along the line (Fig. A).
Either press the seams open or, if you prefer, press towards the darker fabric.
Using your square ruler, line up the 45-degree angle along the seam line of one square then trim the square to the required unfinished size. Make sure you cut off the ‘ears’ at the corners of your unit. Trim the second square in the same way. Your two units are complete (Fig. B).
FOUR-IN-ONE
HALF SQUARE TRIANGLES
With the following method, the outside edges will be on the bias. A light spray of starch will help to stabilize them when stitching them into the quilt later.
Cut two contrasting squares of fabric to the same size. To calculate the size of the two squares, divide the unfinished size of the Half Square Triangle unit (i.e. the size before it’s sewn into the quilt) by 0.64 and round the figure up to the nearest 1/4in (5mm).
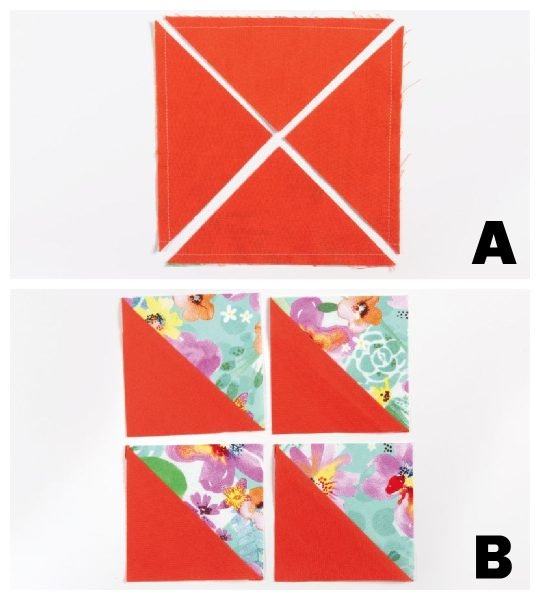
With right sides (RS) together, start by sewing a ¼in (5mm) seam allowance all the way around the outer edge. Cut two diagonal lines across the square, from corner to corner, to create four Half Square Triangles, being careful not to move the pieces during cutting (Fig. A).
Either press the seams open or, if you prefer, press towards the darker fabric.
Using your square ruler, line up the 45-degree angle along the seam line on one square then trim the square to the required unfinished size. Make sure you cut off the ‘ears’ on the corners of your unit. Trim the remaining squares in the same way (Fig. B).
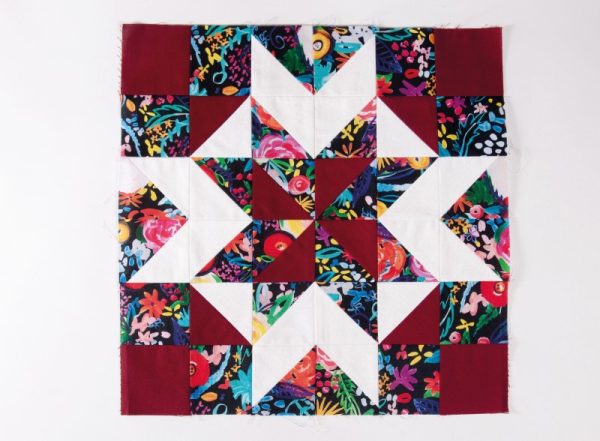
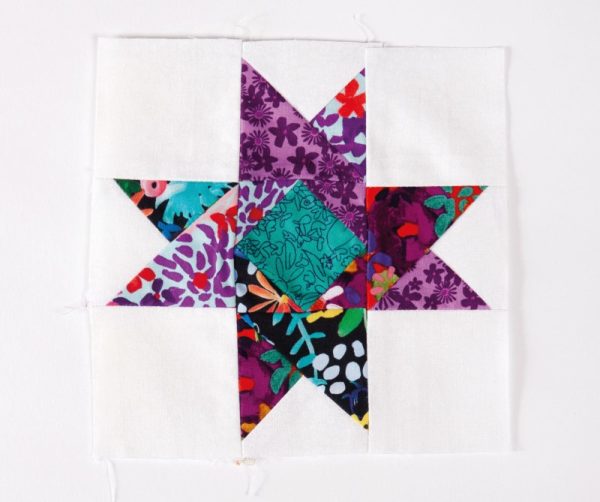
Block made using 4 in 1 half square triangle technique
EIGHT-IN-ONE
HALF SQUARE TRIANGLES
Cut two contrasting squares of fabric to the same size. To calculate the size of the two squares, add 1in (2.5cm) to the desired finished Half Square Triangle size, then multiply by 2. (If you want to make your squares slightly larger to accommodate more generous trimming, add another ¼in or 5mm to the size of both squares.)
Mark both the diagonal lines on the wrong side (WS) of one square. Pin the two squares right sides (RS) together and stitch ¼in (5mm) away from each side of both diagonals (Fig. A).
Cut the squares in half through the middle, from top to bottom, then from one side to the other. Then cut along all the drawn diagonal lines. You should now have eight cut pieces (Fig. B).
Press the seams towards the darker fabric. Using your square ruler, line up the 45-degree angle along the seam line of one square then trim the square to the required unfinished size. Make sure you cut off the ‘ears’ on the corners of your unit (Fig. C). Trim the remaining squares in the same way.
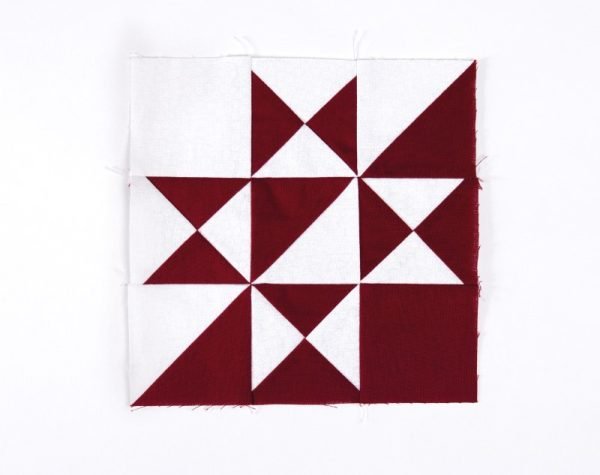
Quilt block made using 8 in 1 half square triangles
SPLIT HALF SQUARE TRIANGLES
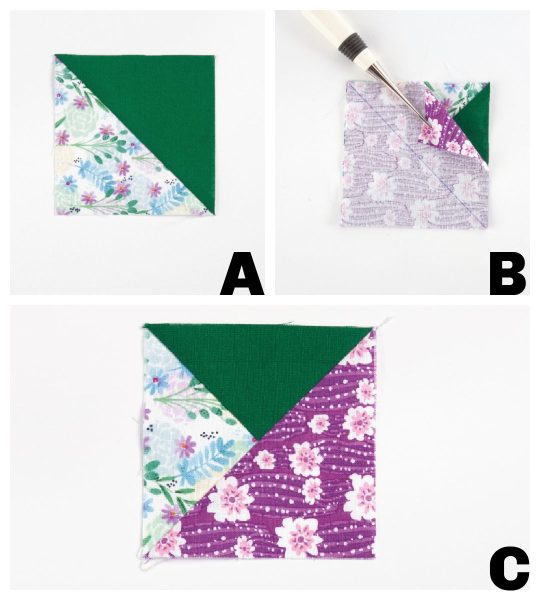
Make a Single Half Square Triangle unit, following the cutting and making-up instructions at the top of this page (A).
Cut a square from a third contrasting fabric measuring the size of your unfinished unit/Single Half Square Triangle. Draw a diagonal line on the wrong side (WS) of the third square fabric. Place the square on top of the pieced unit, right sides (RS) together and ensuring the diagonal line is perpendicular to the previously stitched seam (Fig. B).
Stitch along the line then trim the left-hand side to a 1/4in (5mm) seam allowance.
Either press the seam open or, if you prefer, press towards the darker fabric (Fig. C). Store the left-over triangles in your stash for a future project.
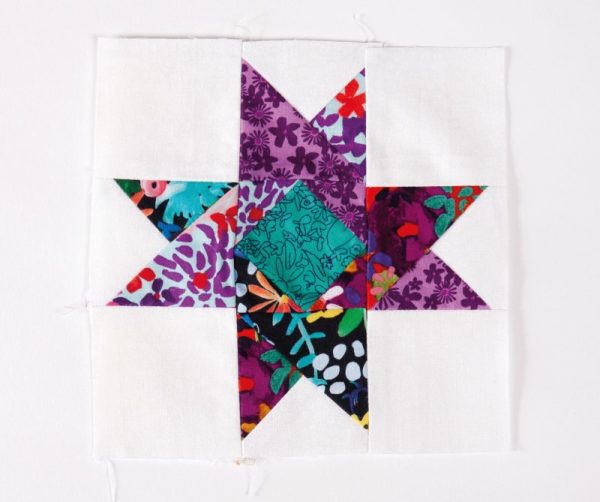
A quilt block made using split half square triangles
QUARTER SQUARE TRIANGLES
The following instructions will produce two identical units.
Add 1½in (4cm) to the desired finished size of your Quarter Square Triangle unit then make two Half Square Triangle units, following the instructions for the Two-in-One Half Square Triangles above (Fig. A).
On the wrong side (WS) of one Half Square Triangle, draw a diagonal line running in the opposite direction to the seam line. Position this unit on top of the second Half Square Triangle, right sides (RS) together and with contrasting fabrics facing (Fig. B). The drawn diagonal line (see the black line) should be perpendicular to the stitched seam on the bottom unit, but the seams should of both units should match – the purple dashed line is the seam for the bottom unit, and the red dashed line is the seam of the top unit.
Stitch ¼in (5mm) away from each side of the drawn line, then cut along the drawn line. Either press the seam open or, if you prefer, press towards the darker fabric.
Using your square ruler, line up the 45-degree angle along the seam line of one square then trim the square to the required unfinished size. Make sure you cut off the ‘ears’ on the corners of your unit. Trim the remaining squares in the same way (Fig. C).