Overlockers are brilliant machines, but the biggest bugbear with them is changing the threads, unless you have an air-threading machine! Well there is an easy way to change overlocker thread. Read on to find out how.
Note: If you do not already have your overlocker threaded then you need our how to thread your overlocker guide. This guide is for changing the threads.
Start by switching your overlocker/serger off
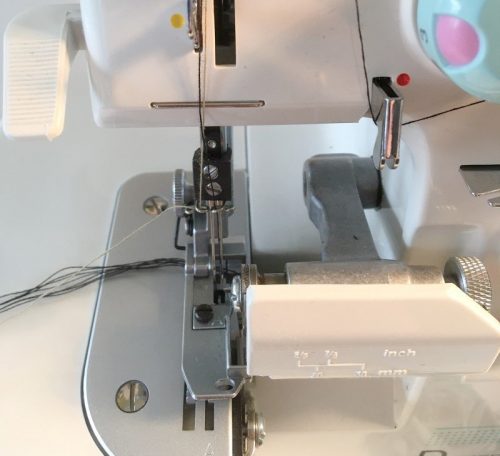
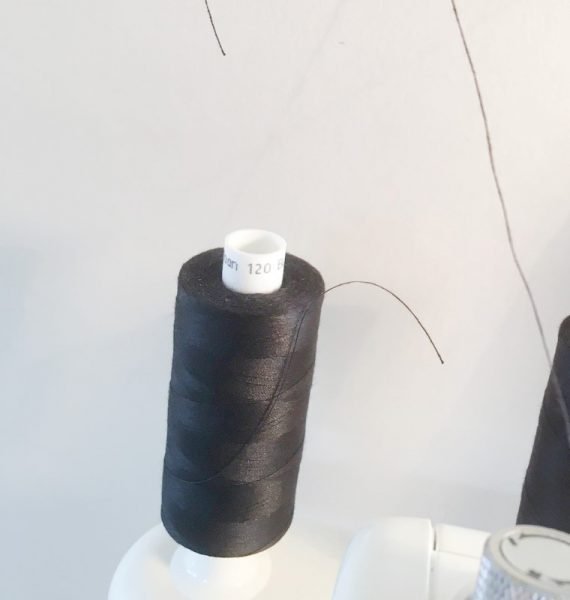
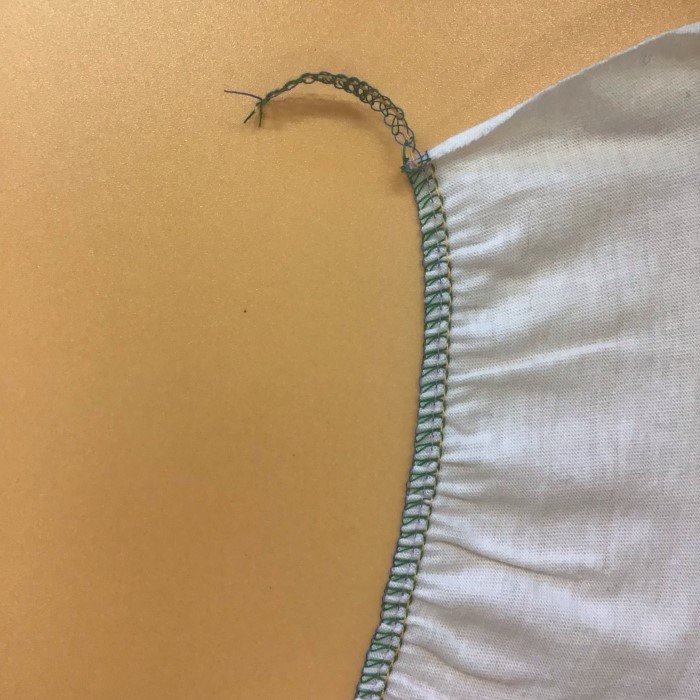
With the four cones still on the spool stand, cut the threads close to the existing cones and let the threads hang free, keeping them threaded through the machine. As per the photo above.
Replace the four cones with new cones as required (see Super Tip below).
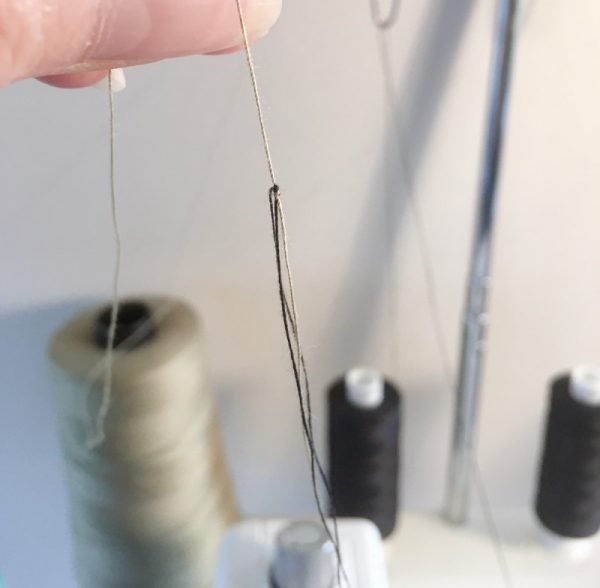
Pass the new threads over the spool stand guides and then tie them to the old threads with a small double knot.
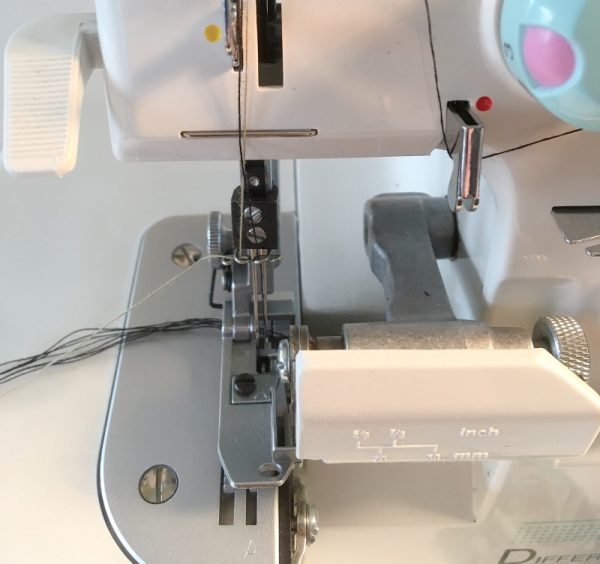
Make a note of the tension on each looper and needle dial. Set the machine tension dials to 0 and then gently pull the old threads through the loopers and needles by hand until the knots are just short of reaching the needles. Cut the two needle threads, disposing of the knots, and then thread the needles as usual.
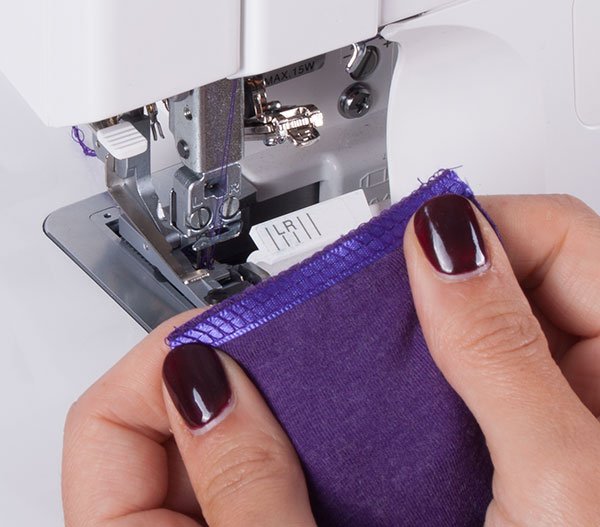
Set the tension dials back to the noted tensions, switch the machine on and start sewing again! Always test on a spare piece of fabric to make sure the threads are running correctly.
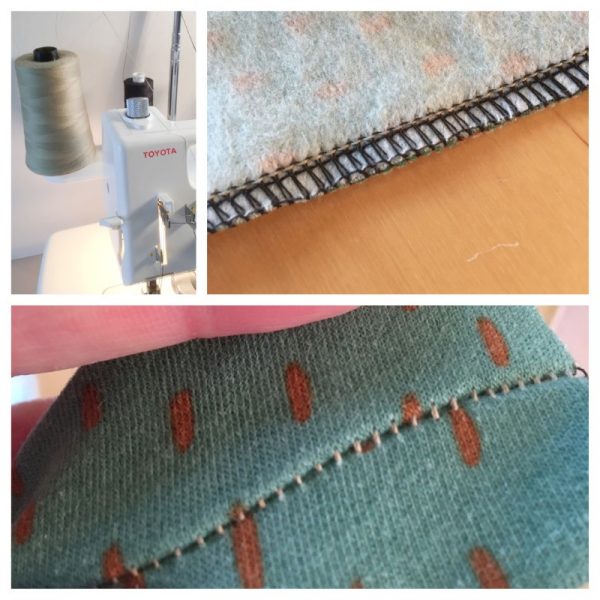
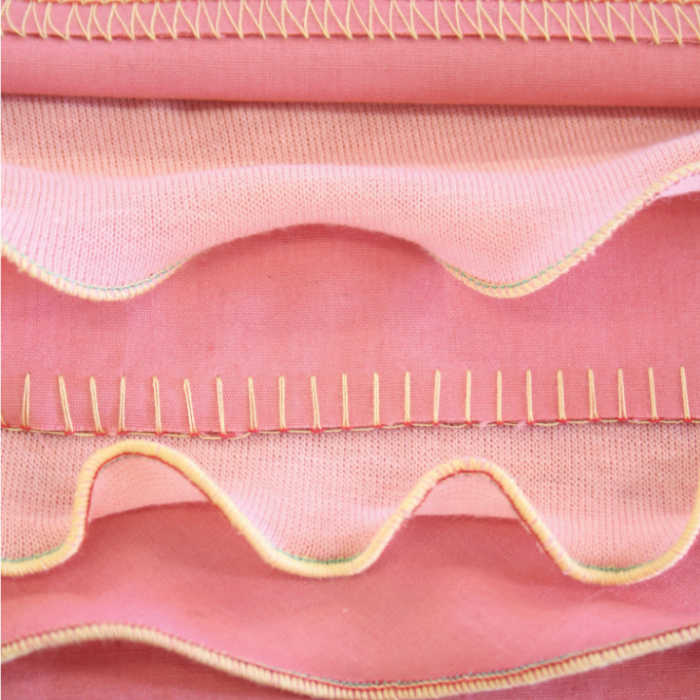
Super Tip: You don’t have to change all the overlocker threads every time you change fabric colour! If you look closely at the stitching, the left hand needle is the only thread that shows on the right side of the fabric, so you can just change the left needle thread to the correct colour, retaining the other threads as they are because they won’t be seen. How good is that!