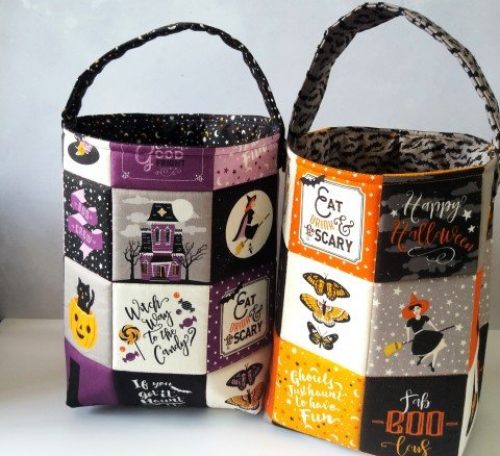
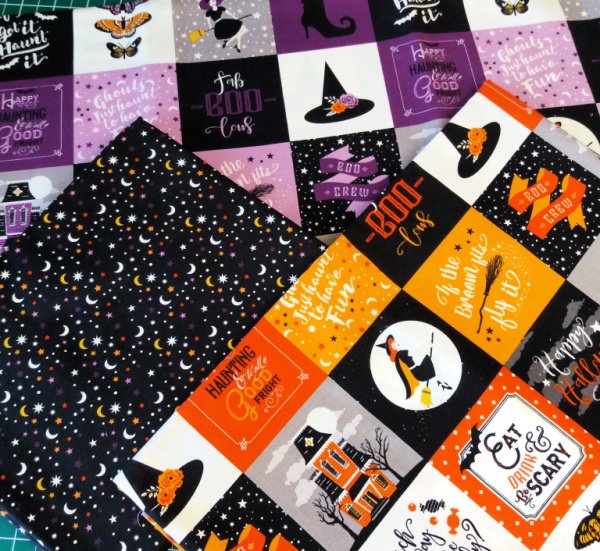
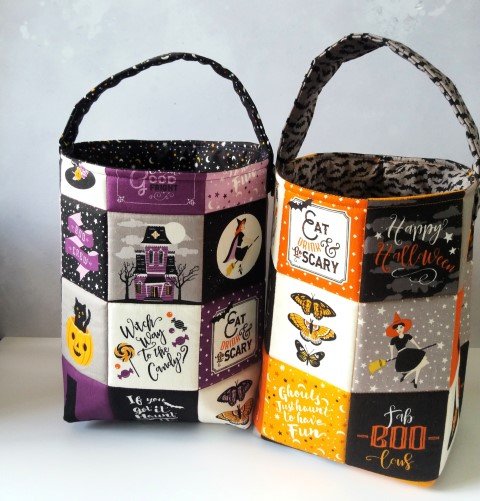
This bucket style trick or treat bag project gives you bags big enough to hold plenty of sweets, and sturdy enough to keep their shape when empty. Their shape means the top stays open ready for sweets to be dropped in. The fabrics we used, Riley Blake’s Fab-boo-lous collection by Dani Mogstad, and has 3 great tiled designs which give a faux patchwork look when quilted.
Materials
1/2m of exterior fabric
1/2m of lining fabric (we used Riley Blake’s Fab-boo-lous fabrics provided by their UK distributor EQS Ltd. Find UK stockists here)
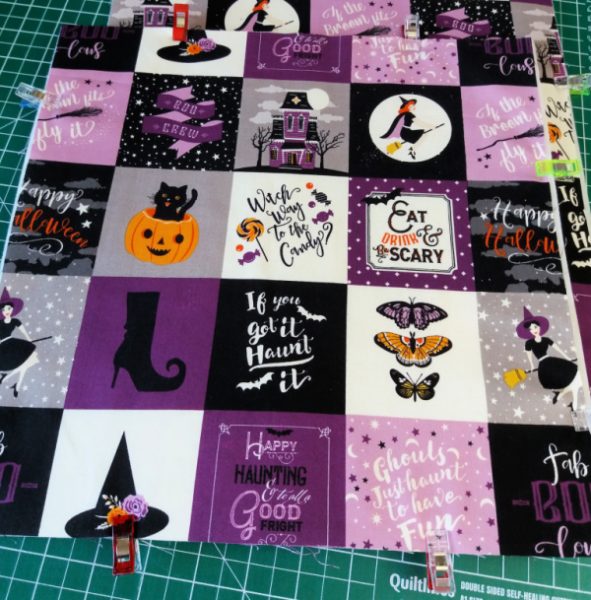
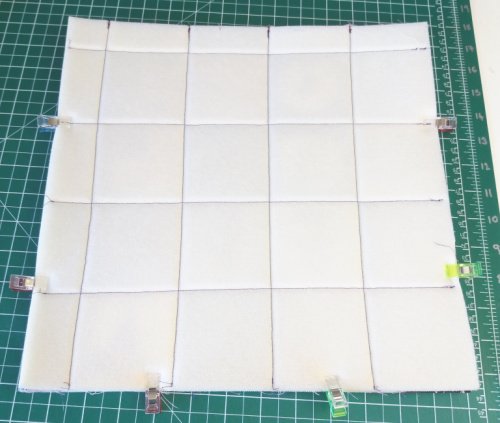
Lay your exterior squares over the pieces of Style-vil. Use wonder clips or pins around the edge to hold them in place.
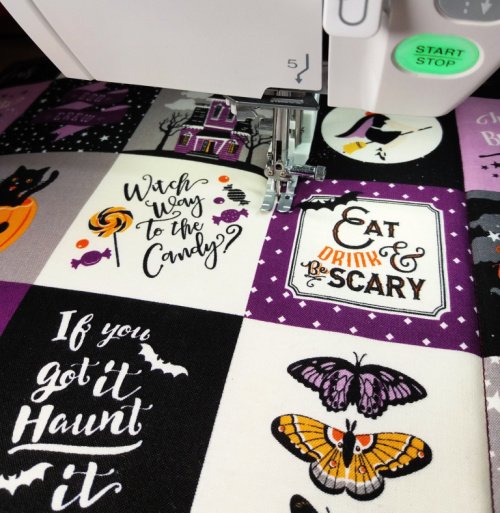
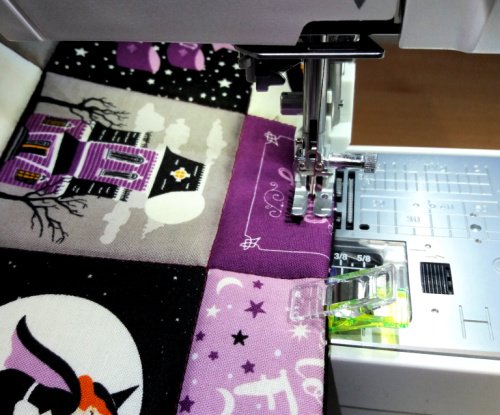
Quilt along the lines of the fabric design as shown in the photo (if using different fabric quilt as desired).
Step 2
Place exterior quilted panels right sides together, clip or pin into place and sew along both sides and across the bottom.
Step 3
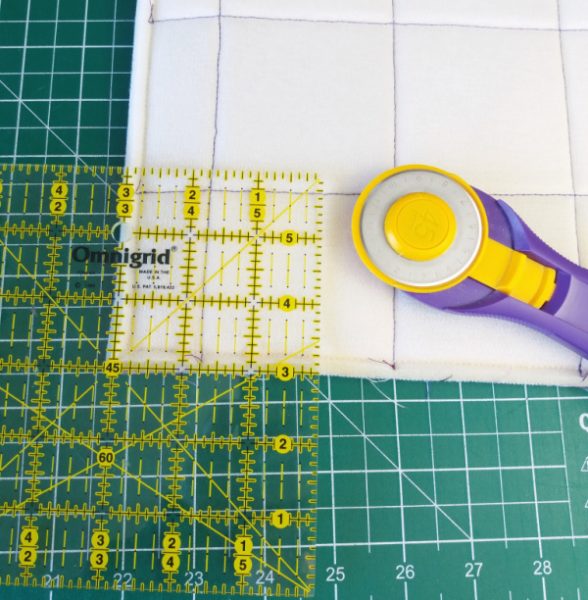
Cut a 3 inch square from both bottom corners, throw the squares away.
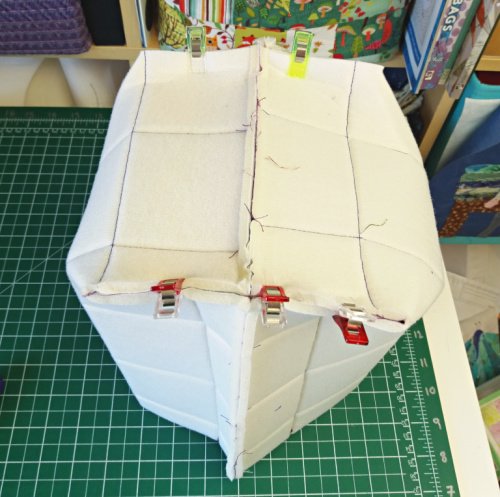
Box the corners by matching the side and base seam up as per the photo above. Pin or clip into place and then sew along that edge. Repeat for the other corner giving the bag a boxy shape.
Step 4
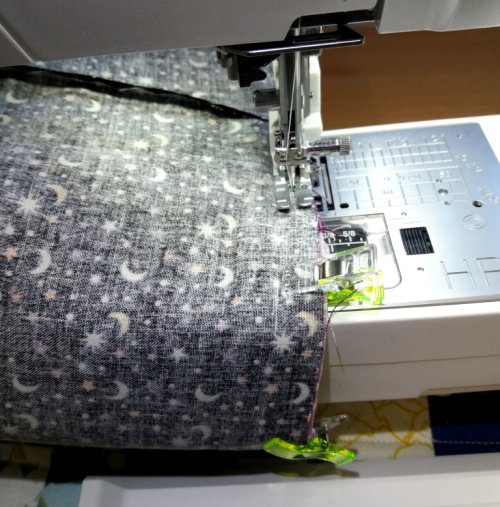
Place the 2 squares of lining fabric right sides together. Sew around the side seams and bottom as you did with the exterior – but leave a 5 inch gap in the centre of the base for turning through.
Step 5
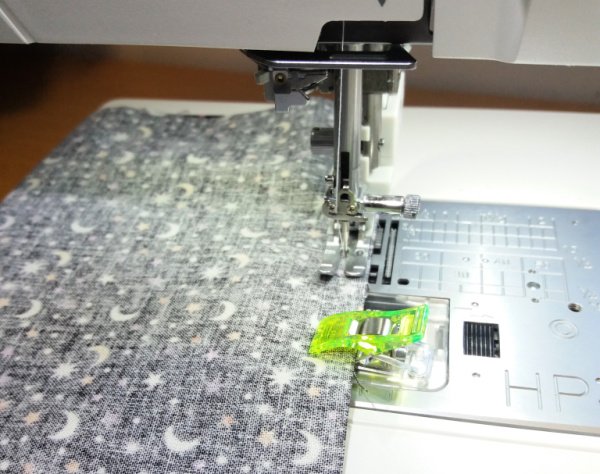
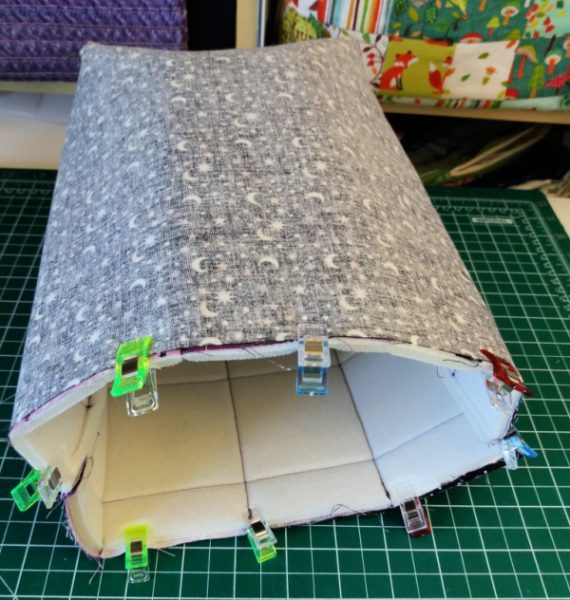
Turn the exterior of the bag right sides out. Place it into the lining of the bag with the side seams matched up (so the right sides of the fabric are touching). Clip the tops together with Wonder Clips.
Step 6
Sew around the top. Then turn the bag through the hole in the lining. Stitch the hole in the base of the lining closed. Press the bag if it got crumpled when you were turning through.
Step 7
Topstitch around the top of the bag to make it look neat, and to hold the lining in place.
Step 8
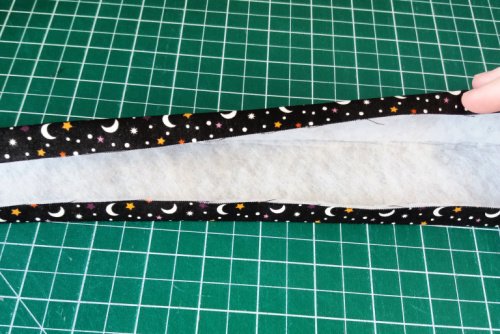
Take the 15 by 5 inch piece of fabric and fuse the fusible fleece or interfacing to the back.
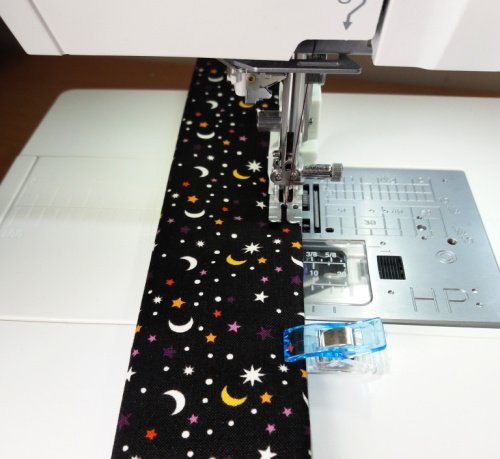
Then press the long edges in by ½ an inch as per the photo above.
Fold the strip in half, so both folded edge are together on one side. Stitch along that side, and the other side to create your handle.
Step 9
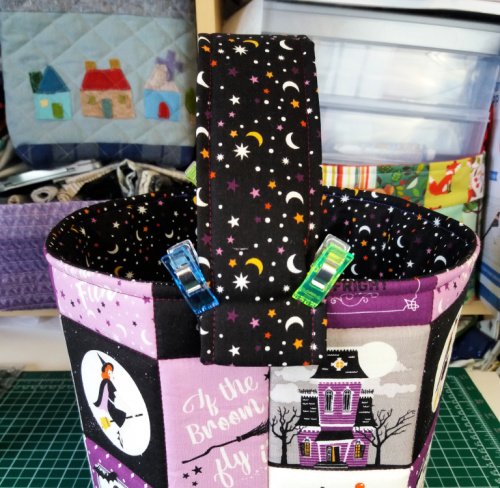
Fold one short end in by half an inch and position the strap over one of the side seams. Sew into place then repeat on the opposite side seam – allowing your handle to arch across the top of the bag.
Your Halloween trick of treat bag project is now finished and ready to be filled with sweets and treats.