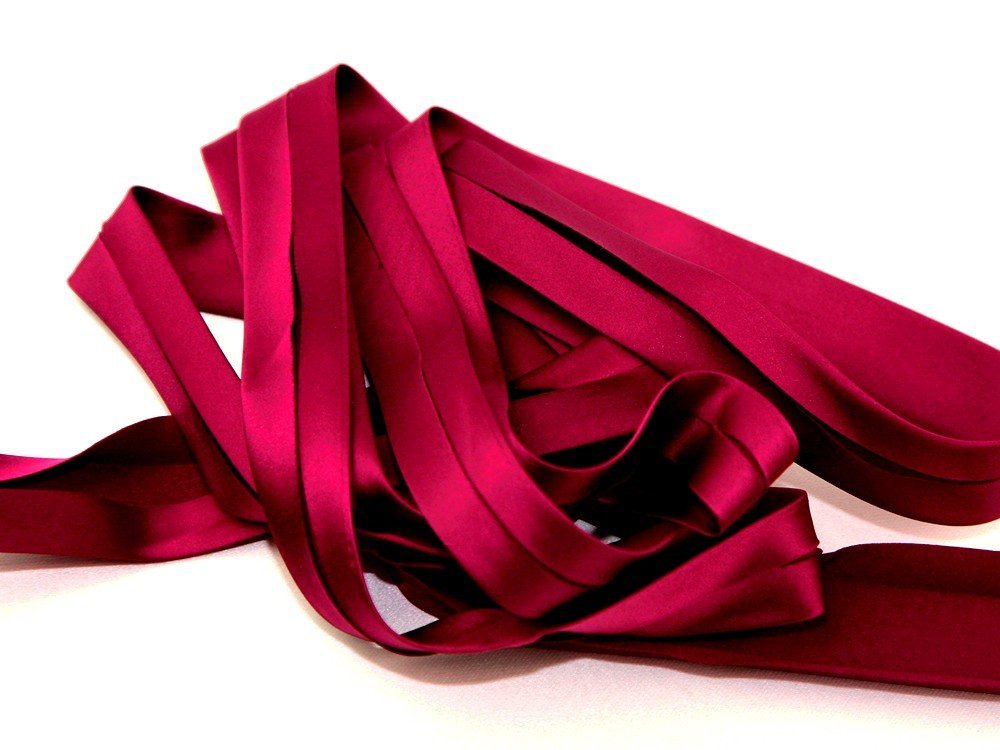
Stretch Bias binding can be purchased from Pound Fabrics in a range of colours.
This was the first time I have ever used a stretch bias to bind a project and I’m in love with this product. I cannot think of an easier or more professional way to finish jersey garments. You sew it exactly the same as you would sew a cotton bias.
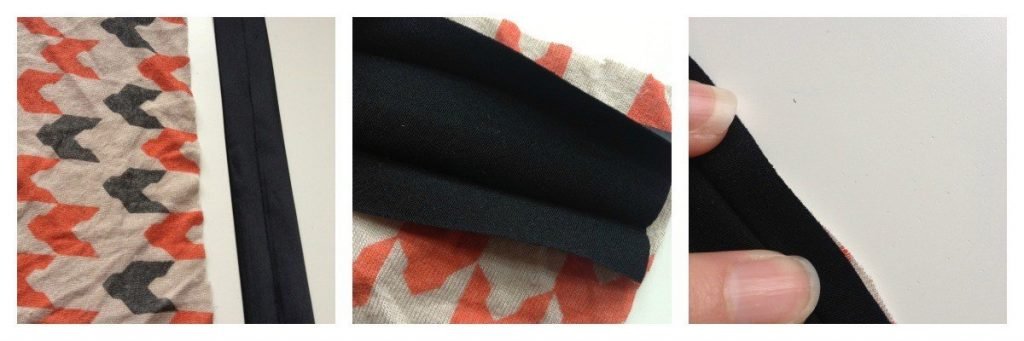
Unfold the stretch bias with your fingers and you will see the folding lines. With it open, position right sides together, aligning to the margins.
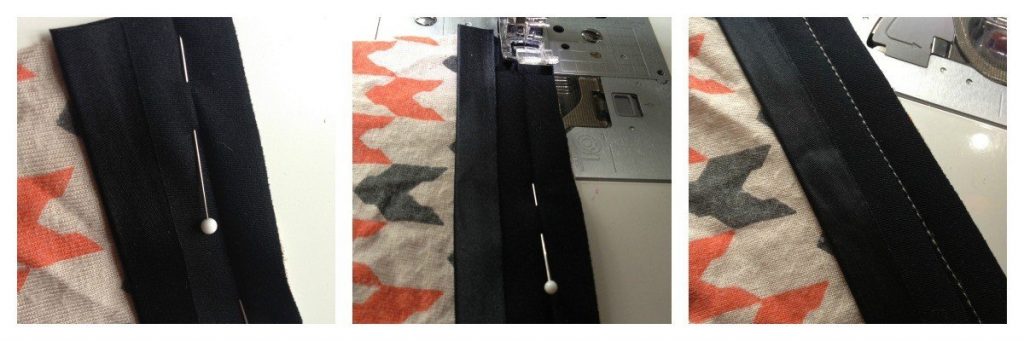
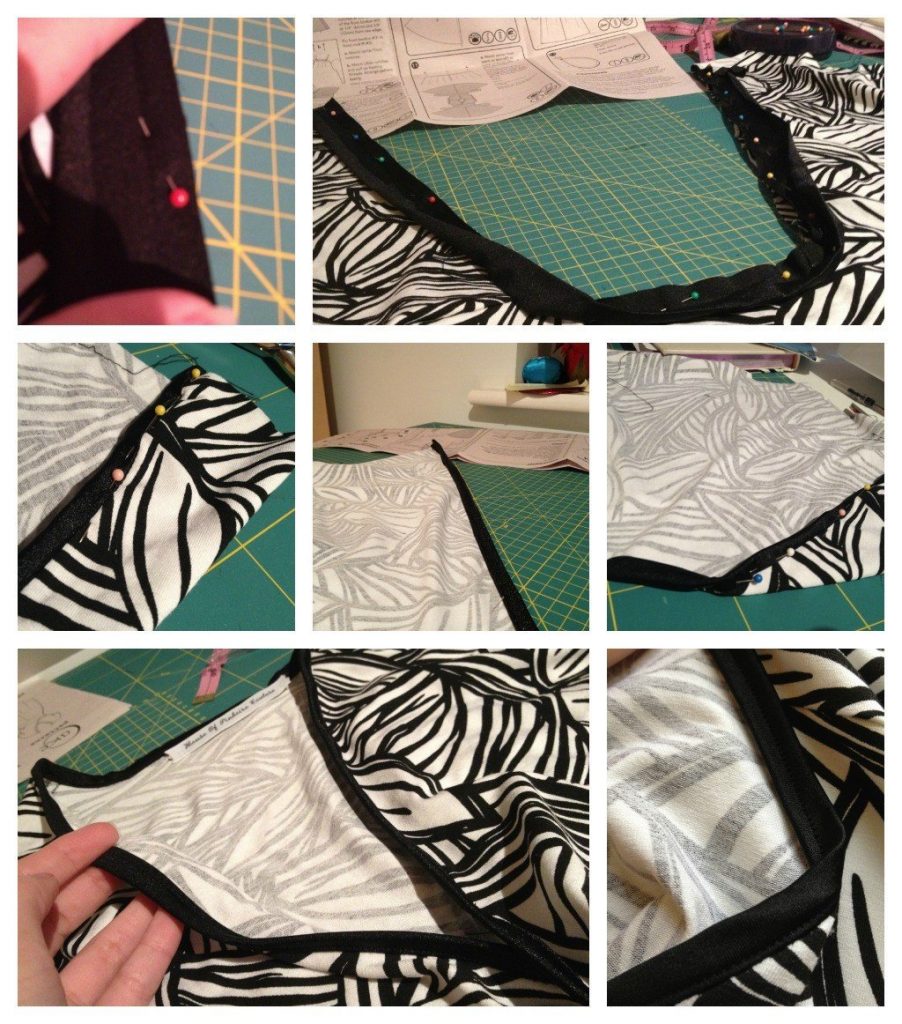
Start from the middle and pin all the way around your item on the first crease. Sew following the crease.
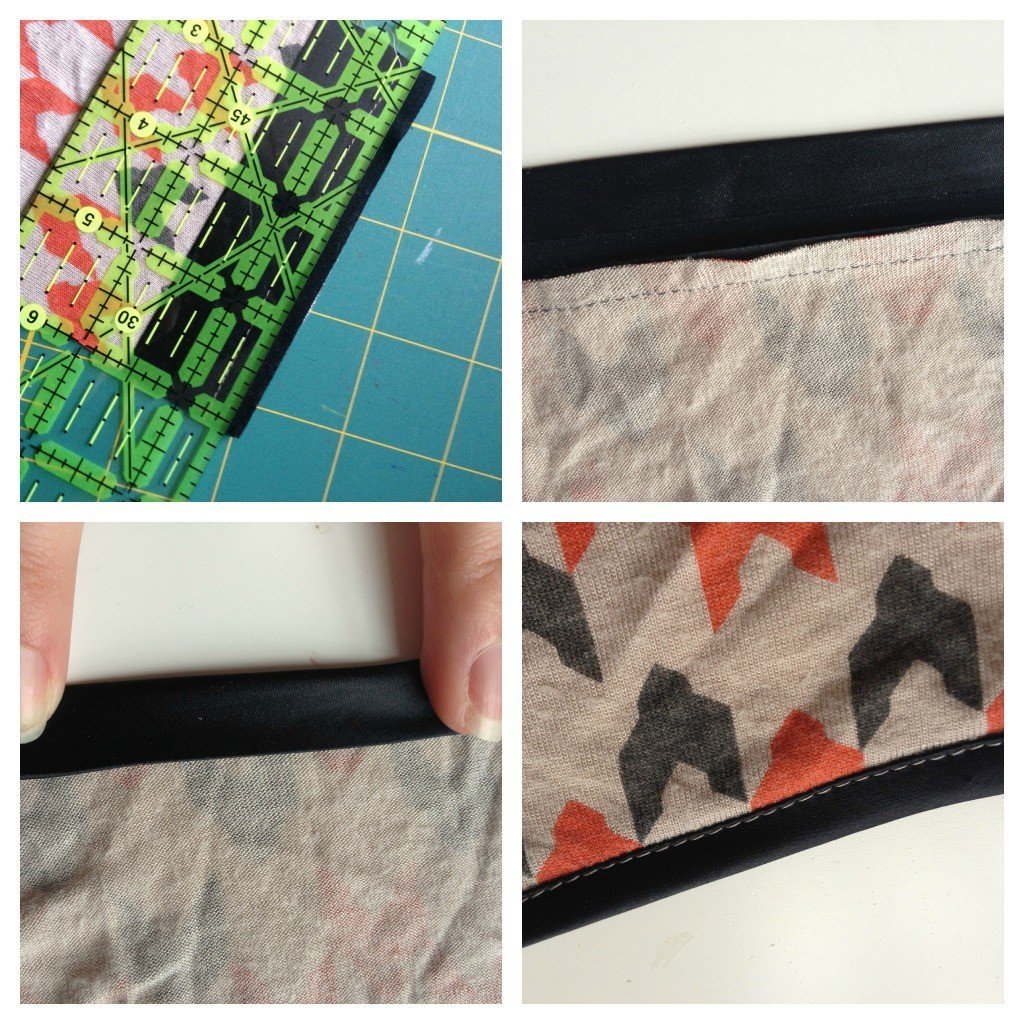
Trim the excess to avoid bulk. Lift your bias tape, fold it around the other edge and pin again. Sew it in place. I do recommend that you use your machine knit straight stitch to allow the bias to move with the fabric.
The reason I love ready made stretch bias is because knit fabric can be troublesome to make into bias binding and depending on the fabric, it’s often very unstable. This product really creates a stable surface to sew. I recommend using it on necklines, cuffs and armbands. There are many possibilities. With your scraps you can use to stabilise shoulders and pocket seams. I would also use it for swimwear and underwear.
You can see from the image at the top of the page how my project finish looks very professional with the stretch bias.
Stretch Bias binding can be purchased from Pound Fabrics in a range of colours.