There is nothing better than being able to hang your textile work on your wall as the work of art it is!
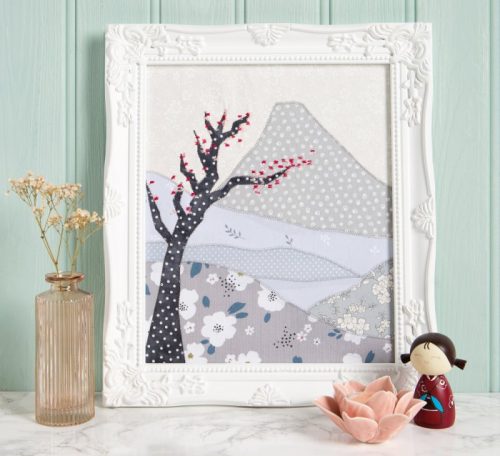
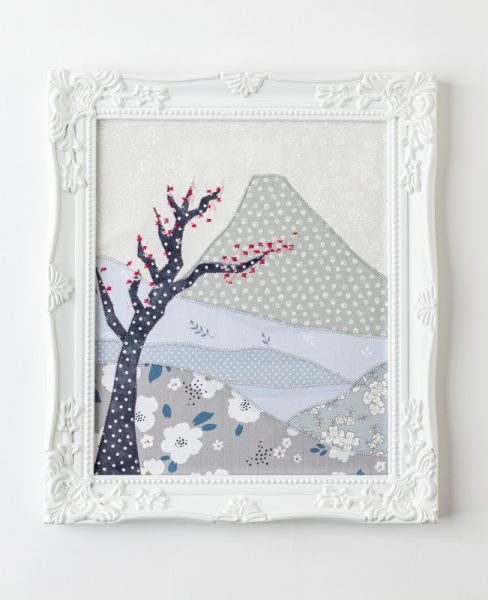
For this project I have taken the art and natural beauty of Japan and created an imagined landscape. This is a country that I really hope to visit one day, and until that happens, I can admire this image instead! I wanted the fabric and the design to be the star of the show, rather than the stitching, so I chose to stitch the appliqué pieces down with zigzag stitch. I picked quite muted fabric and thread colours to ensure that the delicate flower blossom stands out. Remember that natural features tend to appear less distinct and lighter the further away they are, so take tone into account when choosing your fabric.
This project uses the raw-edged appliqué method with iron-on adhesive. I use zigzag stitch, but any other stitching method would work.
The finished wall art (frame aperture) is 29 x 24cm (11½ x 9½in). Templates for this project can be found on pages 10-12 of this document: Templates
You will need:
Picture frame, size of your choice
Strong card the same size as the aperture in your picture frame
Piece of fabric for the sky 5cm (2in) larger than your picture frame
Piece of iron‑on interfacing 5cm (2in) larger than your picture frame
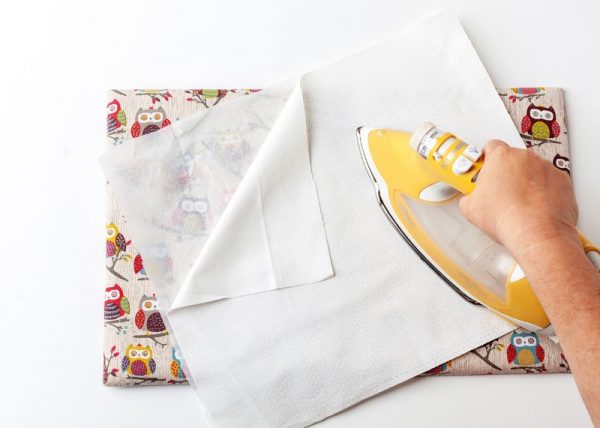
Iron the interfacing onto the back of the fabric you have chosen for your sky. This is very important so that the fabric has structure to support the zigzag stitching. If it is unsupported, it is almost certain that the zigzag stitch will cause the fabric to pleat and look messy.
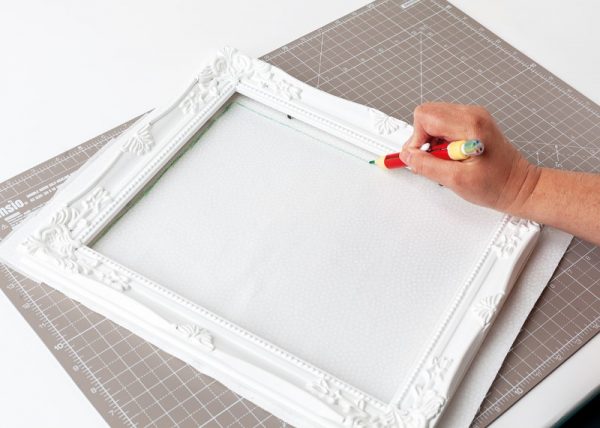
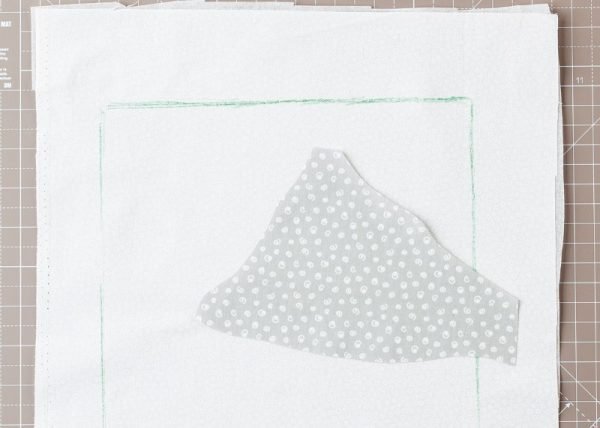
Mark out the rough area of the frame aperture so can you make sure that all your pieces cover it with about 1.5cm (½in) extra each side. You don’t want any raw edges sneaking in once it is in the frame.
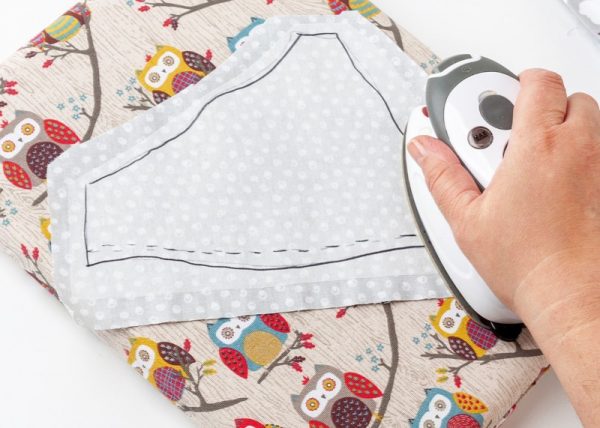
Trace your pattern pieces onto your iron‑on interfacing. Roughly cut out and press onto the back of your fabric pieces. Then accurately cut out your fabric pieces and remove the backing paper.
Start placing the fabric pieces from the background of the scene to the foreground. Place your mountain piece with the glue side down onto your sky fabric. Check the placement of the image. The base of Mount Fuji should sit along the centre of the background piece.
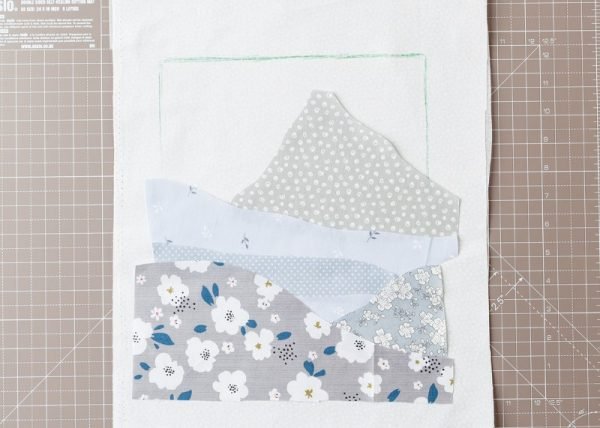
Continue adding the sections, working down the design into the foreground following the numbers on the templates you printed. Remember that each piece will overlap the piece underneath it. This avoids any gaps between the pieces.
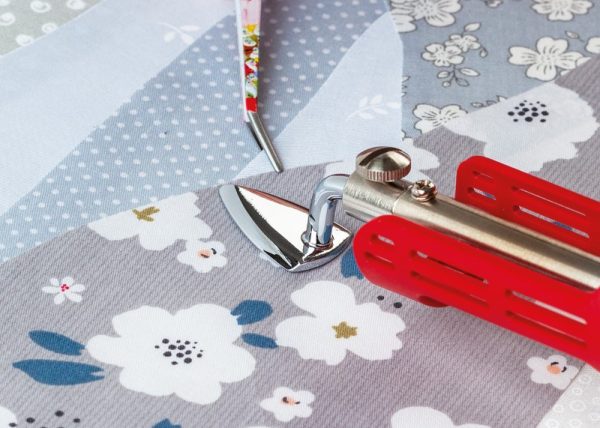
Once you are happy with your placement, press all the pieces down to secure them. You might find it helpful to use a mini iron and pair of tweezers to place the small pieces.
Tip: It is easier to sew the landscape pieces in place before adding the tree so that you do not need to cut the threads to pass around it.
Always test your stitch settings on a piece of scrap fabric to make sure you are happy with the results before starting on your main piece.
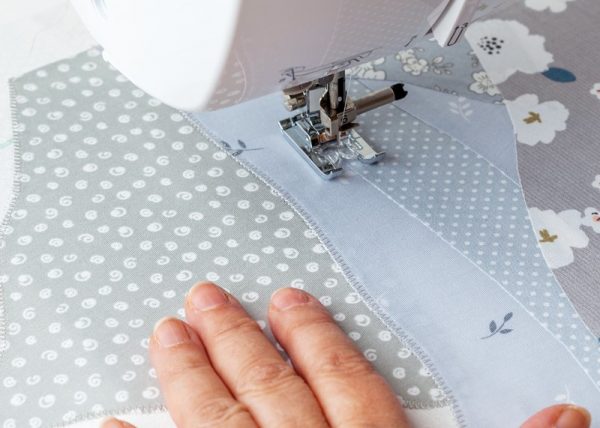
Set up your sewing machine for zigzag stitch, or a stitch setting of your choice:
Stitch length: 1mm
Stitch width: 3mm
Thread colour: light grey
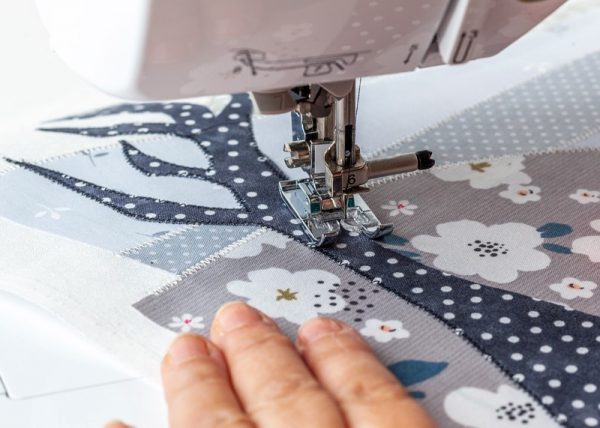
Work your way along the sections of the scene, ensuring that the zigzag stitch fully encompasses the raw edges of the fabric pieces. This will prevent the fabric pieces fraying.
Cut out and apply the tree using the same method you used for the landscape. I set my zigzag stitch to a narrower setting to sew around the tree because it is a tricky shape:
Stitch length: 1mm
Stitch width: 2mm
Thread colour: dark grey
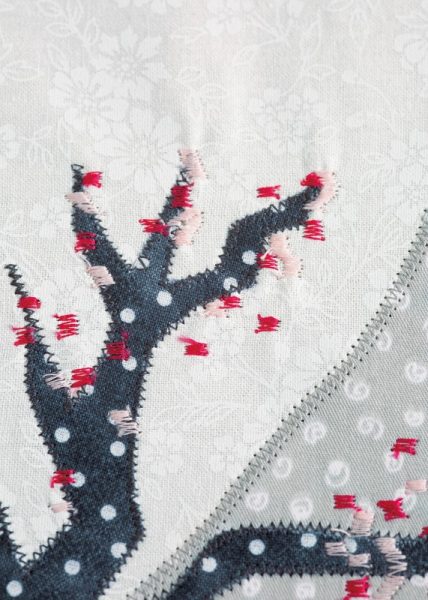
To add the blossom to the tree I used a wider stitch width and a shorter stitch length on my zigzag. This suggests bunches of flowers. Use a stopstitch at the beginning and end of each piece of blossom so that they don’t unravel:
Stitch length: 0.5mm
Stitch width: 3.5mm
Thread colour: dark pink and light pink
Completing the Wall Art
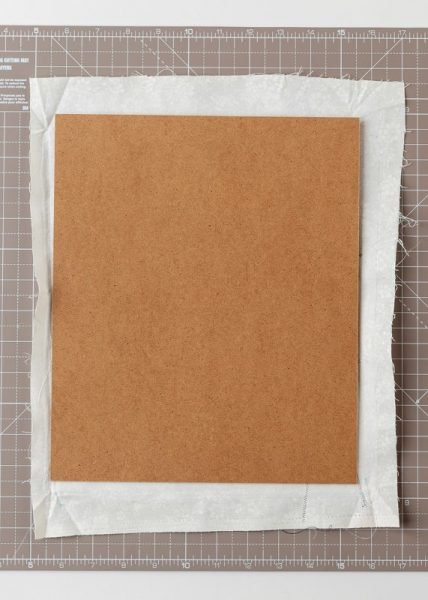
Press everything so it is nice and flat. Lay your finished piece face down onto a clean surface and place the strong card or the back of the picture frame on top. Make sure that the fabric edges will all tuck inside the frame.
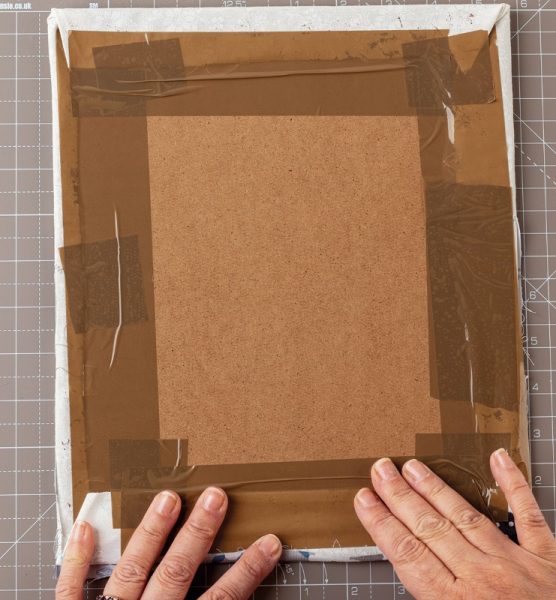
Stretch the fabric and secure it to the back of the card with tape, or you can use strong thread and lace it in place. The choice is yours – just make sure that everything is flat and neat from the front. You do not want any unsightly puckers.