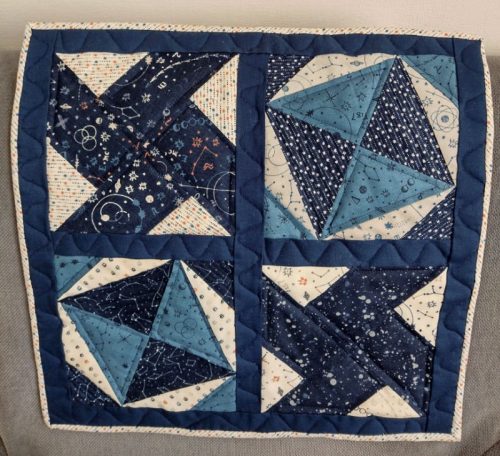
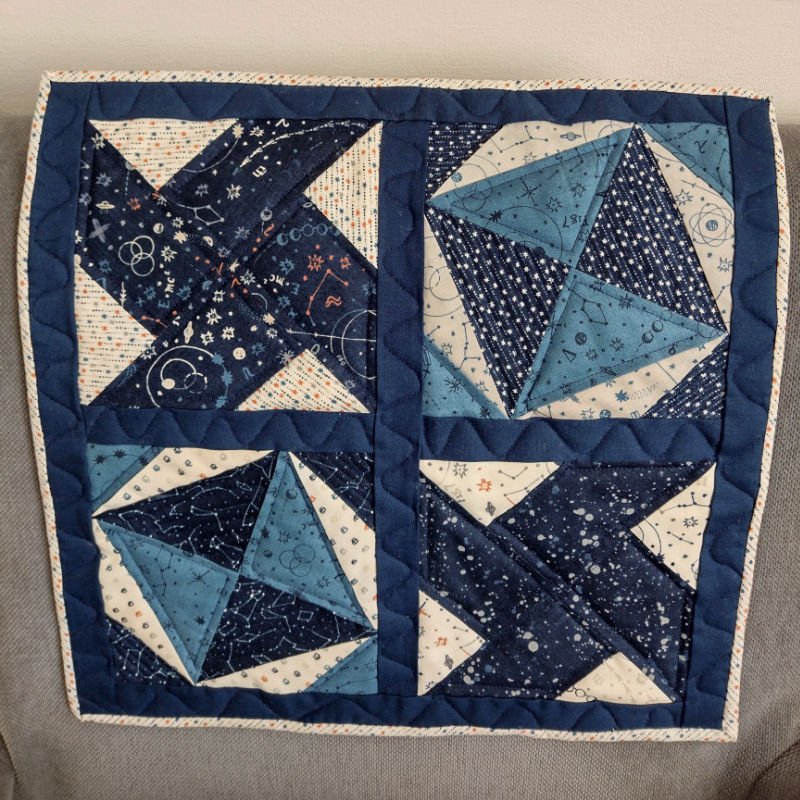
This foundation pieced Astra mini quilt uses a fat eighth bundle and is easy to piece. Perfect for a wall hanging or a cushion, it is 16 inches square when finished. It’s a great way to get to grips with foundation paper piecing, with just 4 simple blocks to make, none of which have fiddly little pieces.
You will need:
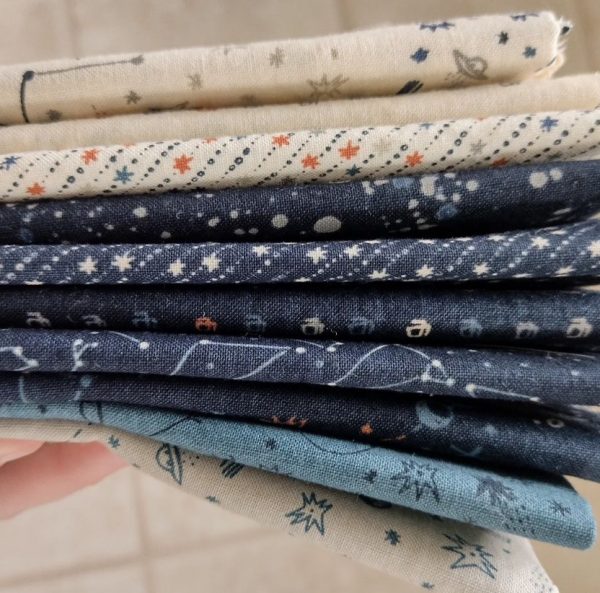
11 fat eighths – we used Janet Clare’s Astra fabrics from the Quilter’s Den plus 1 navy solid. You could use 5 or 6 fat quarters if you don’t mind repeating fabrics in the design.
16 inch square of wadding (I used 2 layers of wadding to make the quilting pop more)
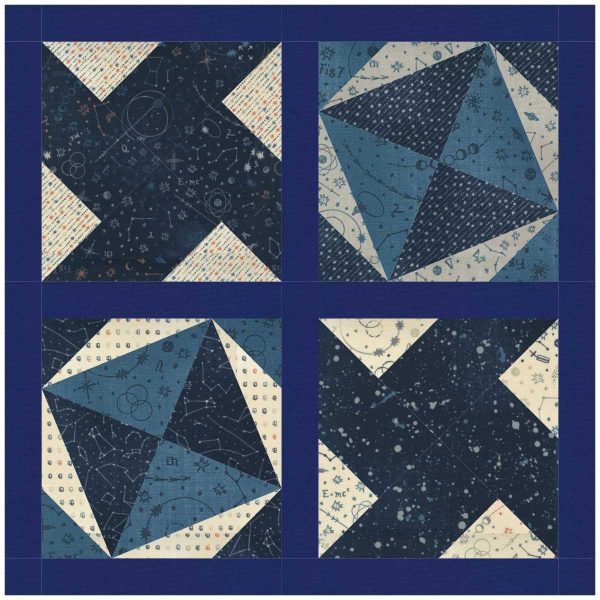
This quilt was designed using the EQ8 software, read our review of it here.
Cutting instructions:
For the foundation paper piecing I just cut pieces as I go a little larger than the area I need to cover with the fabric.
For the sashing cut:
2 strips 7.5 inches long and 1.5 inches wide
3 strips 14.5 inches long and 1.5 inches wide
2 strips 16 inches long and 1.5 inches wide
Backing:
Cut a 18 inch square
For the binding: 70 inches 1.5 inches wide, you can join multiple strips to make the binding see this tutorial on how to make your own double fold binding. You can also purchase ready made binding too.
To make:
Foundation paper piecing
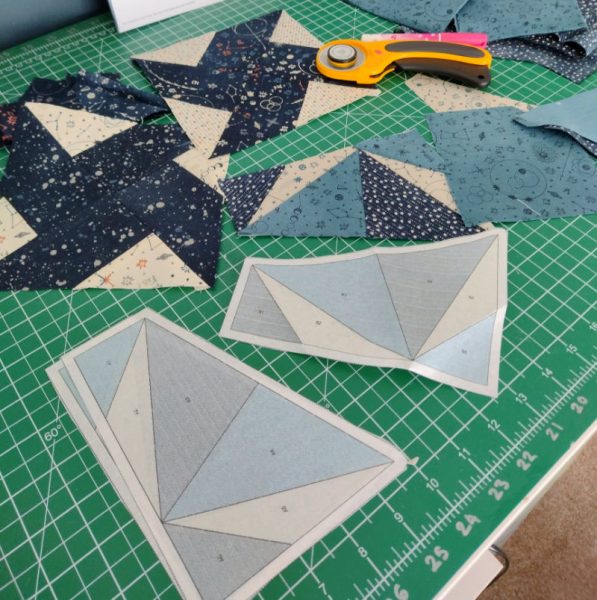
Print 2 of each of the block templates linked to above, ideally on foundation paper but printer paper will also do if you don’t have foundation paper.
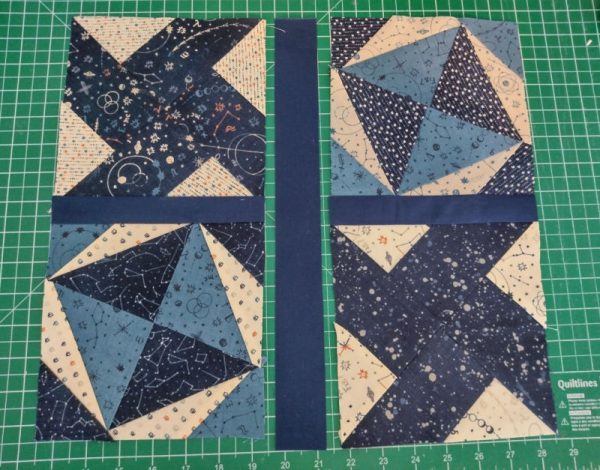
Piece each of the 4 blocks, if you are new to foundation paper piecing please use this beginner’s tutorial to learn how to foundation piece. If you want to follow my fabric layout please use the picture higher up this post as a guide.
Remove the papers from the back of the blocks once they are assembled.
Sashing
Take the 7.5 inch long sashing strips, use them to join the top to the bottom blocks.
Use a 14.5 inch strip to join the left blocks to the right blocks then sew a 14.5 inch strip to the left and right of the quilt.
Finally sew the 16 inch long strips to the top and the bottom of the quilt.
Quilting
Layer your backing fabric (right side down), wadding and quilt top an either glue on pin baste together, I used glue spray. I heard Tula pink say she uses 2 layers of wadding to make the quilting on her quilts really stand out so I decide to try that on this quilt being as it’s only a small quilt. It did make a real difference, so if you want to try it 2 add a second 18 inch square of wadding in the middle of your quilt sandwich.
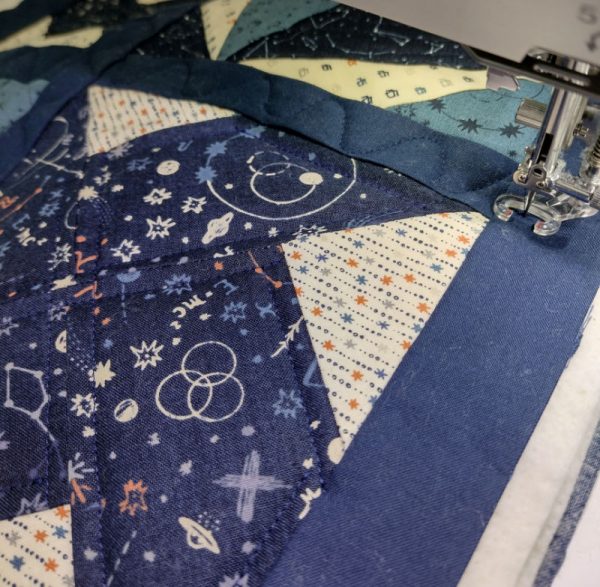
Quilt as desired. I did curves in the sashing, echo quilted most the other shapes but did dense straight line quilting in the darker triangles. I was just playing around to see what looked good with the double wadding.
Binding
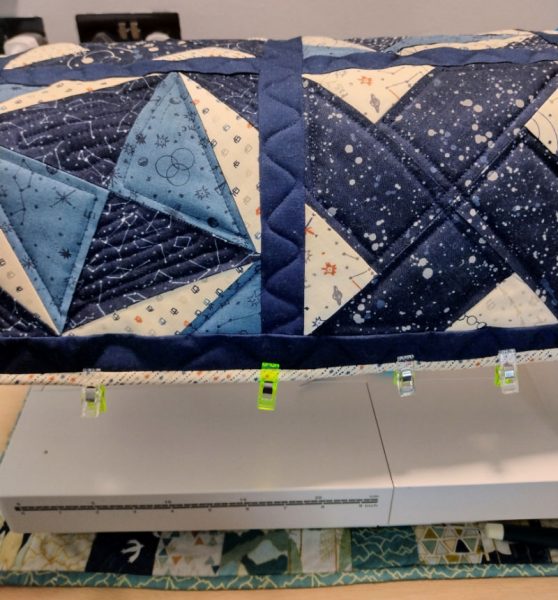
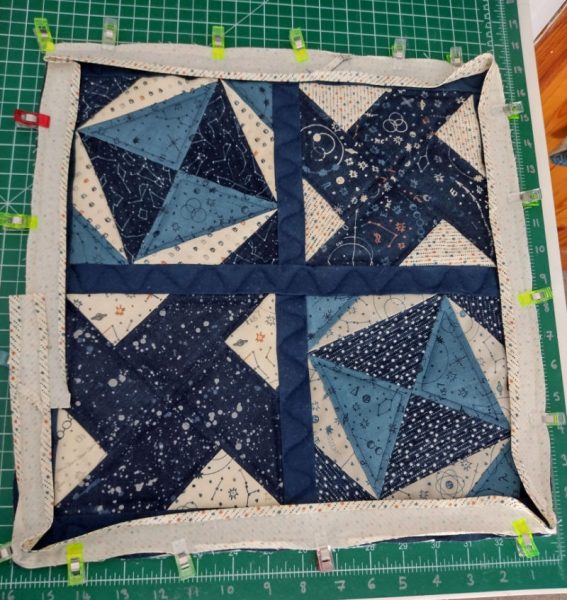
I used a bias binding maker to make 70 inches of double fold binding. Using wonder clips align one raw edge of the binding with the edge of the quilt, stitch all the way around in the crease (for tips on how to sew the corners and overlap your binding ends see our quilt binding tutorial here). Wrap the binding around the raw edges of the quilt and hand stitch to the back with a matching thread. Now your mini quilt is finished!
I use Command picture hanging strips to secure the quilt to the wall.