This EPP travel bag project has been provided by Emma Thompson, owner of the former Sandpiper Sewing School, Milton Keynes, Bucks.
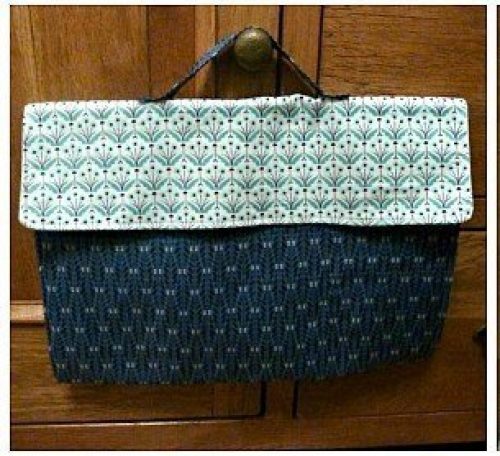
This handy travel bag holds everything you need to take your English Paper Piecing, (EPP) with you where ever you go.
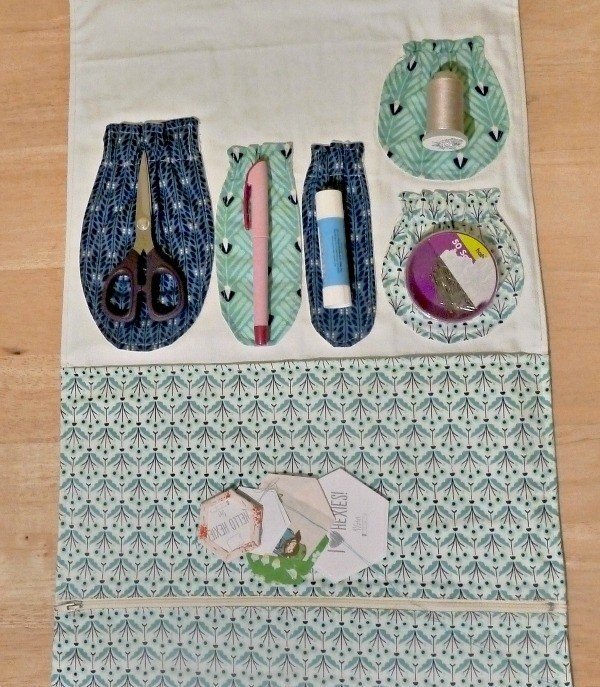
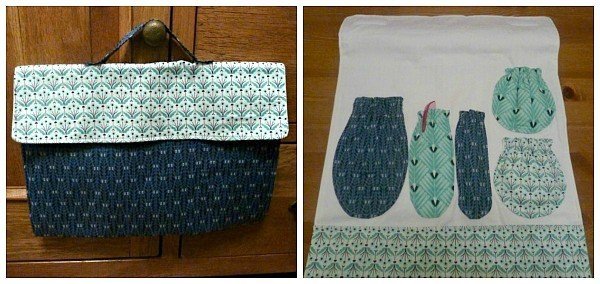
With pretty gathered pockets for your scissors, erasable pen, basting glue, thread and pin/needles, and a large zipped pocket for your papers/fabric.
Supplies
4FQ or 1 metre of outer fabric, I used Wildwood from Cloud 9 provided by Hantex. 1 metre of canvas fabric – Raystitch have a good selection 1 metre heavy weight iron on interfacing, 14” closed end zip, Elastic, Velcro
Sew ¼ Inch Seams, (included) throughout unless directed otherwise.
Step 1
Cut out your fabric pieces;
Main Bag – Main Fabric, Canvas and Interfacing – 15” by 25 ½ ” (If using FQs like me, piece together three sections 5 ½ ”, 10 ½ ”10 ½ ” all 15 wide.)
Gathered pocketsZipped pocketHandle
Fabric & Canvas 5”x8” Fabric: 15” x 8” and 15” x 3 ½ ” Fabric : 2 ¼ x 9” 2 ½ ” x 7” Canvas: 15” x 7” Canvas: ¾ ”x 8” 3” x 7” 4” x 4” 4” x 4”
Step 2
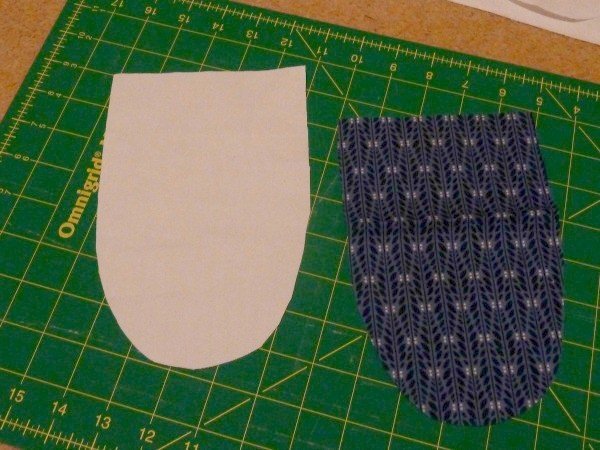
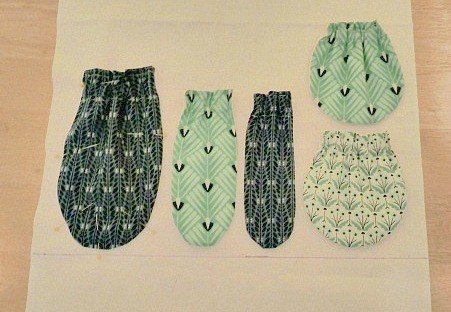
Next for the gathered pockets shape the bottom of each into a curve as shown below.
Step 3
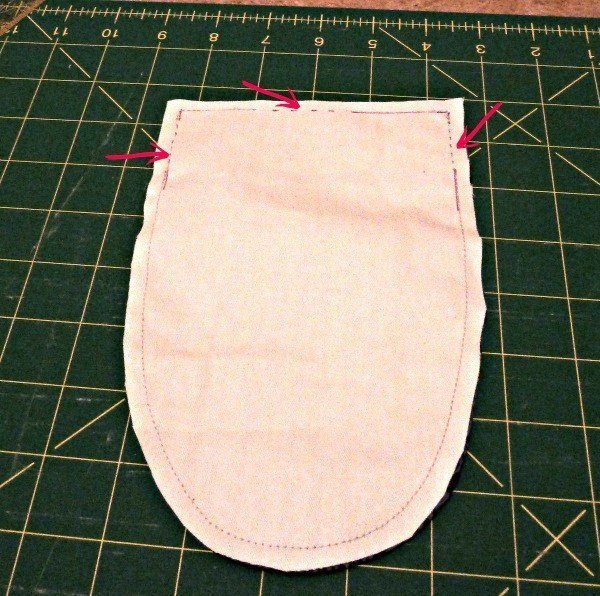
Next to make the gathered pockets, place fabric right sides together, and sew around the edge leaving 1” at both sides, ¼” from the top (for our elastic) and a gap to turn the right way out at the top.
The dashed lines on the picture below show where not to sew.
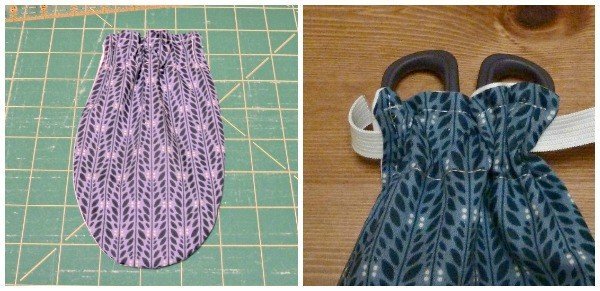
Next turn the right way out, press and top stitch along the top edge, closing the gap you used to turn the pocket. Next sew a line 1” from the top, this is our channel for the elastic.
Thread your elastic through, & gather your pocket (tip – when you have gathered your fabric mark the elastic with a erasable pen to save pinning in place). Sew the ends of the elastic in place by top stitching each side as shown below.
TIP – Make sure that the elastic has to stretch in order for your EPP items to fit in so they don’t have room to fall out)
Repeat this process for each of the gathered pockets, then place onto the canvas 10 ½ inch from the bottom and top stitch in place, as shown.
Step 4
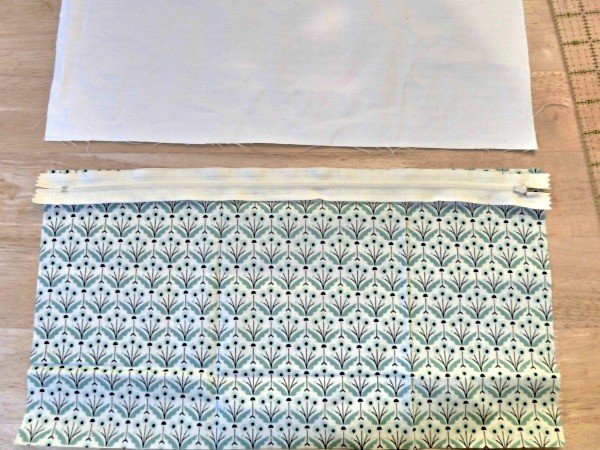
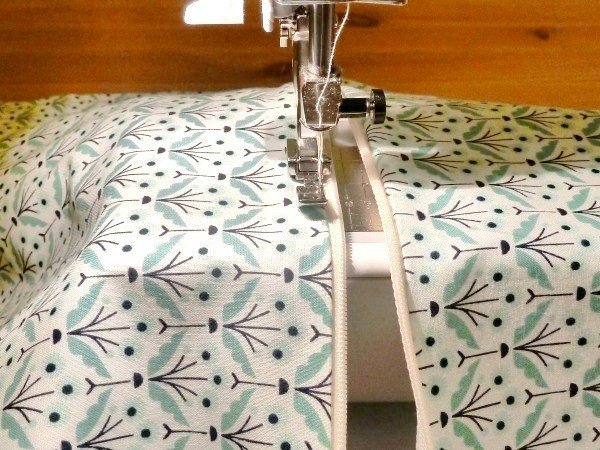
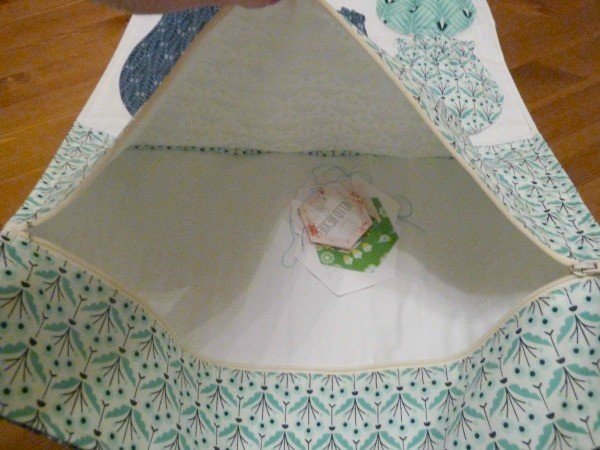
Next we will make the zipped pocket. Take your zip and place it face down on to your 15” x 8” fabric as shown below
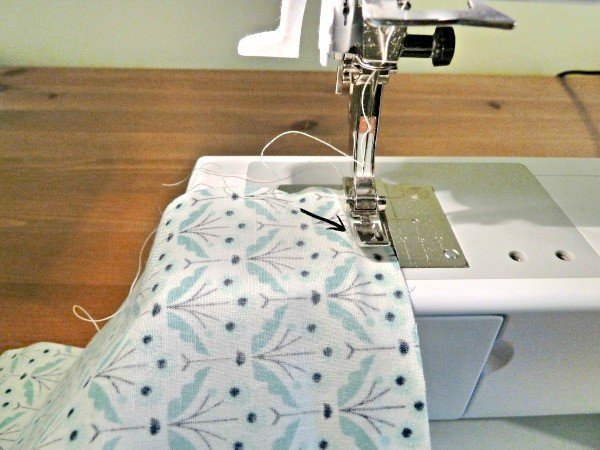
With your zipper foot sew in place as shown below, the arrow is pointing to the zip teeth which should be lined up against your zipper foot
Then sew the canvas lining on the other side of the zip as shown below.
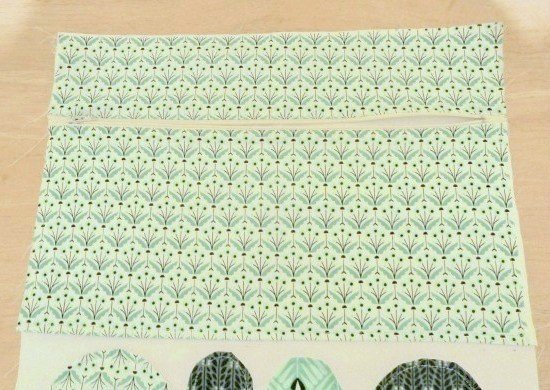
Press the fabric away from your zip and top stitch in place.
TIP: make sure the fabric is pulled away from your zip and topstitched to prevent the fabric catching in the zip when it’s used.
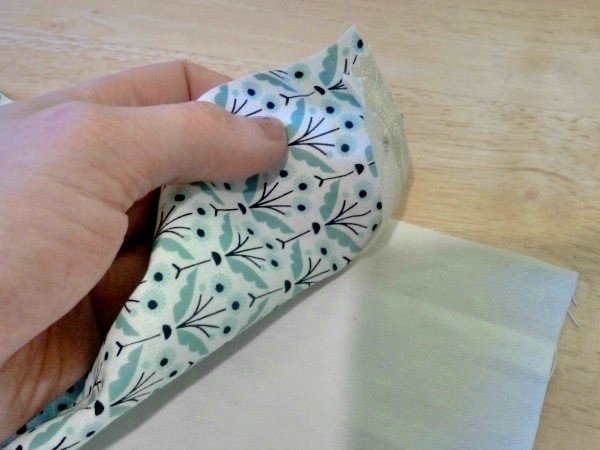
Your canvas lining is shorter than your fabric outer, fold the extra fabric in half and then wrap over the canvas this will give the inside of your pocket a nice finish with no raw seam edges.
Place onto the canvas and sew in place as shown below.
Step 4
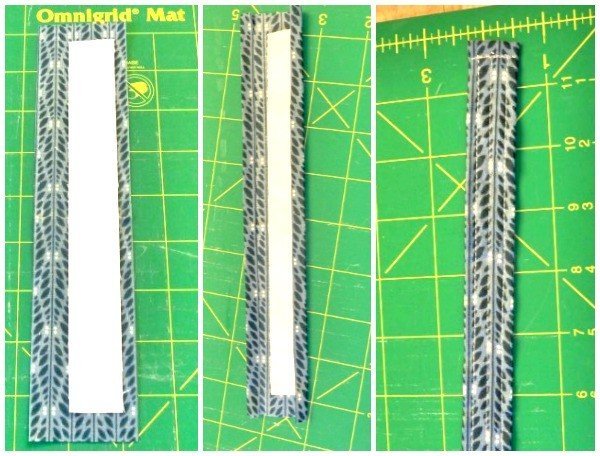
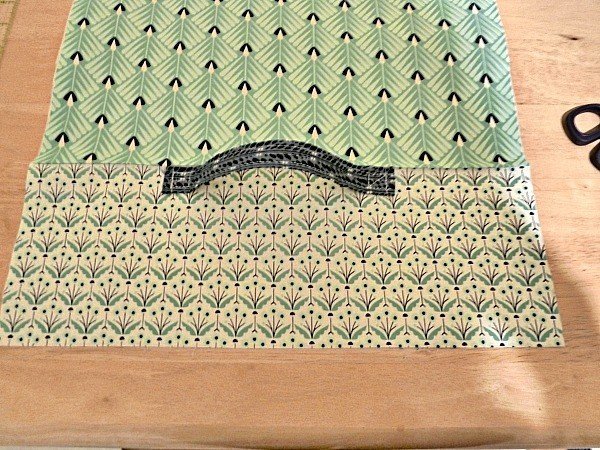
Now we can make our handle. Line up the canvas ¼” from the edge of the fabric as shown in the first image below.
Wrap the fabric over the canvas like wrapping a parcel, and top stitch in place.
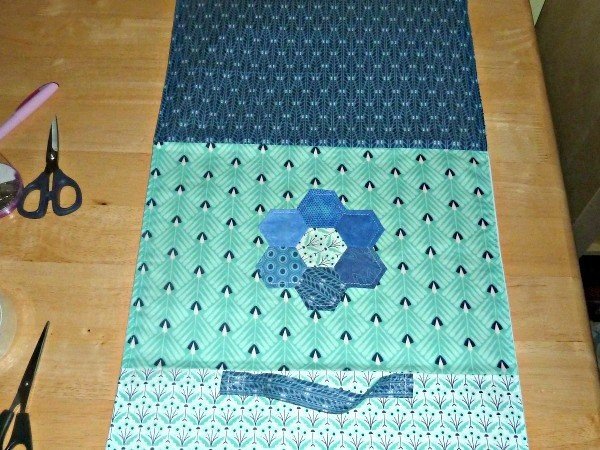
Next attach the strap, mark 4” from each side and stitch the end of the strap in place as shown below.
Step 5
Next iron your interfacing to your main fabric.
I then added a little appliqué to the back of my bag as shown, (optional).
Next we can sew the main fabric and canvas together, place right sides together sew around edges leaving a gap to turn. Turn and press, topstitch close to the edge.
Next just add some buttons or Velcro to keep the bag neatly closed. I used iron on Velcro but have also hand stitched in place.
You have your finished bag ready to use, enjoy English Paper Piecing on the go. Put your essential supplies in the pockets and use the zipper pocket for your fabric and templates.
This guide has been provided by Emma Thompson, owner of the former Sandpiper Sewing School.
You may also be interested in our Sew On The Go feature for other projects to help you sew whilst out and about and products you can buy yo transport your sewing supplies.