This fabric book project is an extract from Sewing School Quilts by Amie Petronis Plumley & Andria Lisle published by Storey Publishing. The book introduce children to the creativity of stitching patchwork, appliqué, and quilts.
Let the fabric tell the story in this adorable fabric story book project, suitable to sew with children or for children.
What you need
Chalk
1 yard total of a variety of background fabrics for the pages
Scissors
Fun fabric with images that tell a story and can be fussy cut
Fusible web
Fabric markers
Iron
Other fabric scraps (if needed)
Sewing machine and thread
Pattern Up
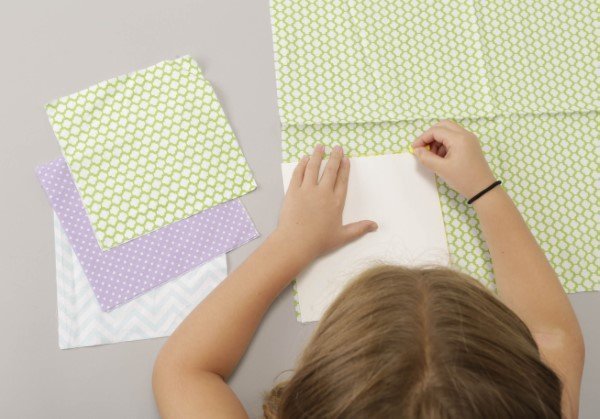
The squares are 7.5 inches all around. The number of squares you should cut depends on how many pages you need to tell your story. Since the pages are double-sided, you need two squares for each page. It’s best to write and lay out your story before starting to cut and quilt your fabric.
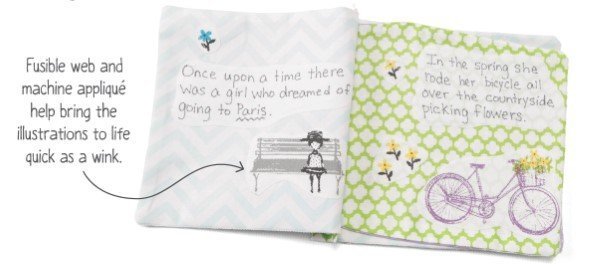
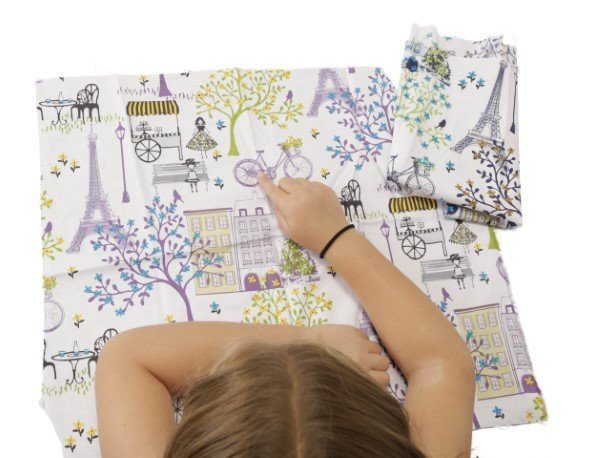
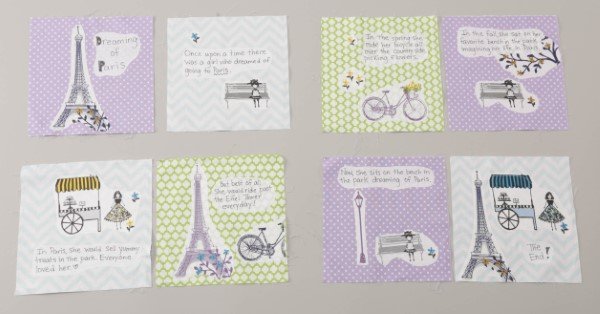
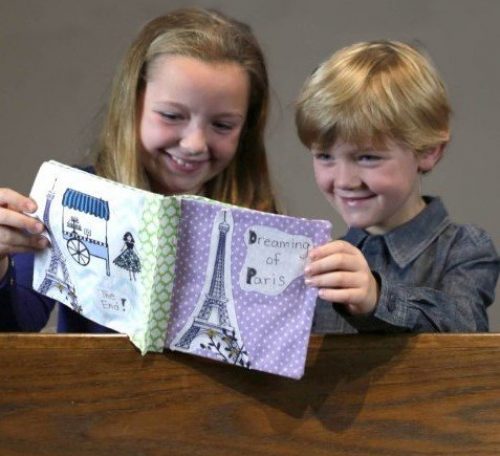
Find fabric that “speaks” to you. What story does the fabric tell? Maggie saw this fabric and thought of a girl riding her bike in Paris. First, she wrote down her story in her journal and then turned it into a Fabric Story.
Maggie's book is 4 pages, double sided, so she cut out 8 squares of fabric.
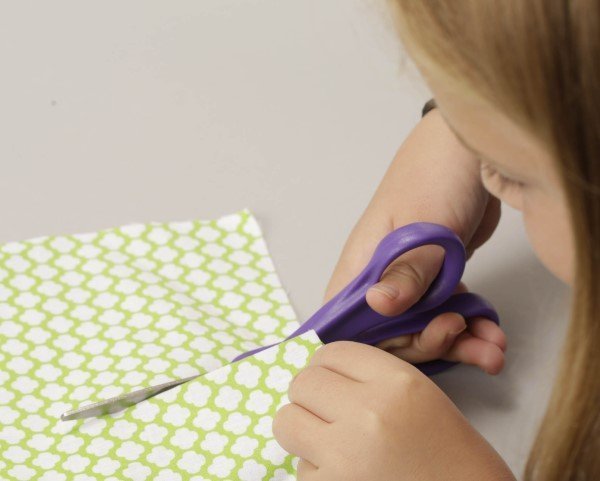
You can create a 7.5 inch square pattern template on paper if you wish to use a pattern piece. With chalk, trace the pattern onto your background fabrics and cut out the fabric pages. You will need 2 squares for each page.
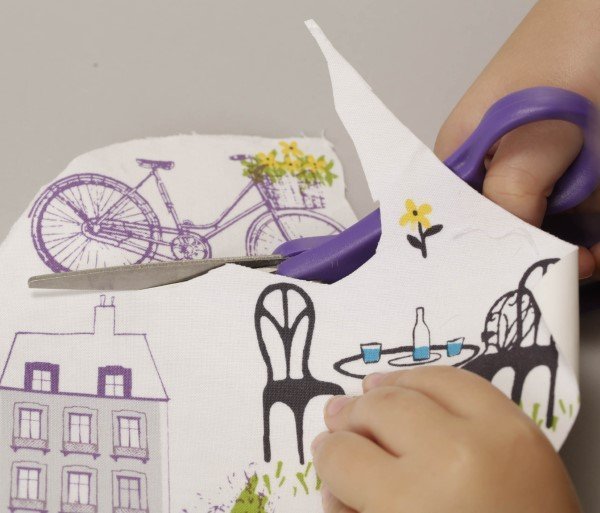
Add fusible web to the back of the story fabric. Fussy cut around the images you want in your story.
TIP: It is easier to add fusible web to a larger piece of fabric and then cut out smaller images than to add fusible web to images that have already been cut out.
The fusible web makes writing on the fabric easy
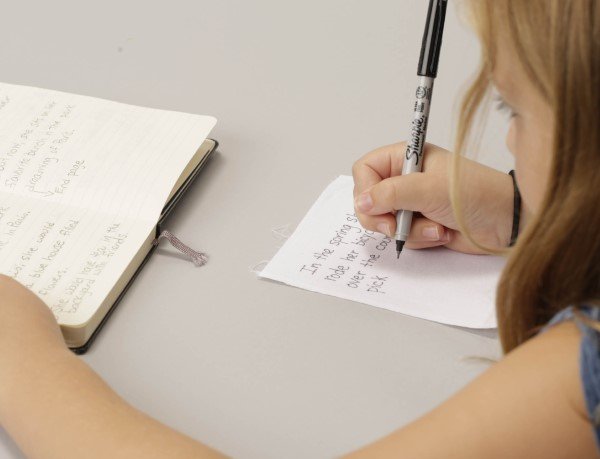
Write the words of your story directly onto the fabric pages or onto pieces of white fabric backed with fusible web.
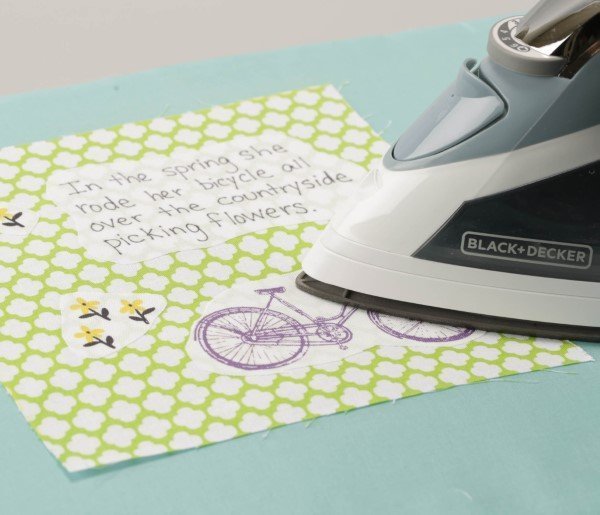
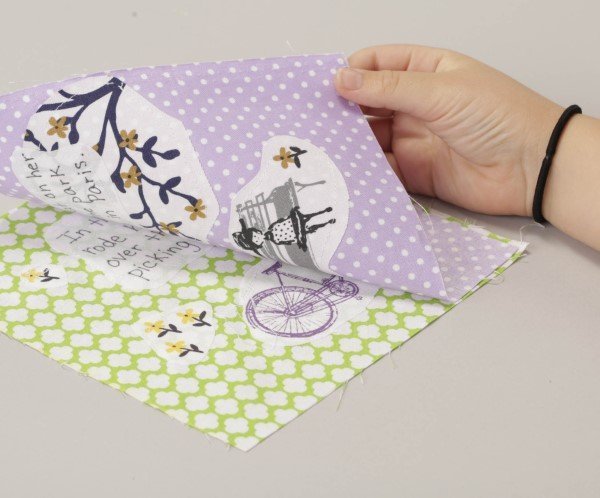
Arrange the pictures and words on the fabric pages. Iron the pictures and words in place.
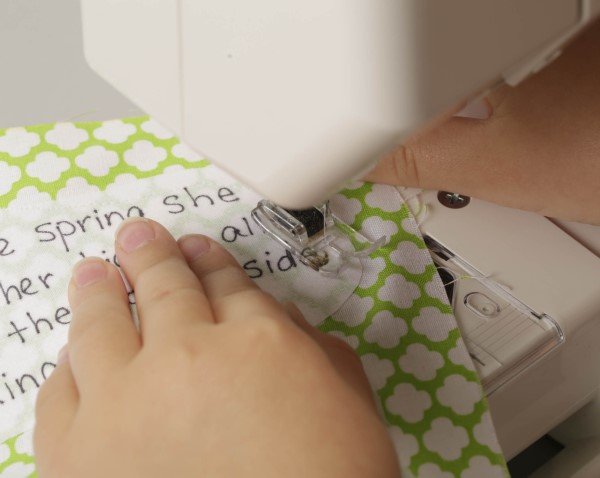
Machine-appliqué by stitching all around the pictures and words. It is okay to stitch from picture to picture without stopping.
TIP: If you are unable to use fusible web, use a glue stick to secure the images in place.
Lay out the pages for the Fabric Story side by side.
Flip the right-hand page onto the page on the left side for each of the page sets. The good sides are together.
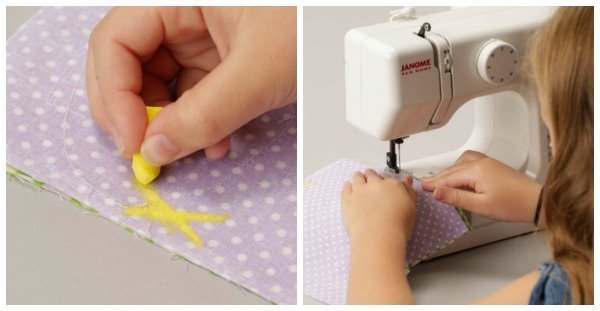
To help keep track of which side to keep open draw an X with chalk along the side
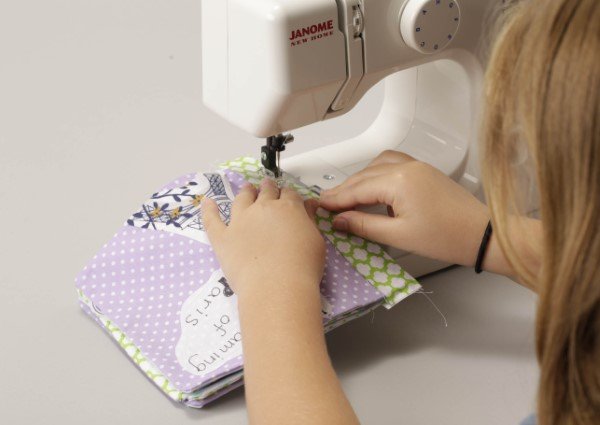
Leave the side along the middle of the book open. Stitch the two pages together around the other three sides.
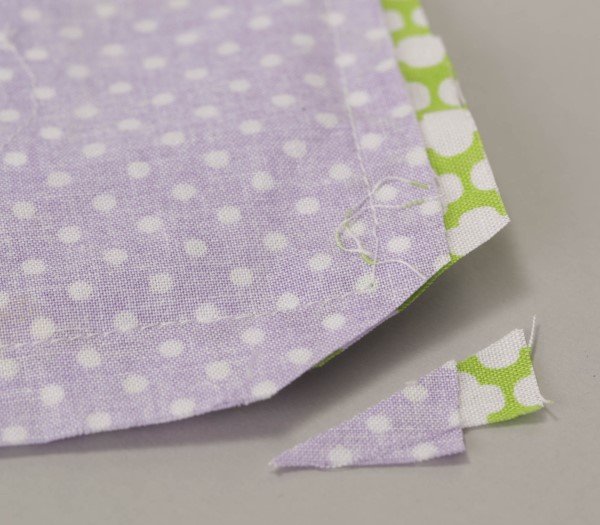
Trim any extra fabric at the corners and edges if needed. Be careful not to cut the stitches.
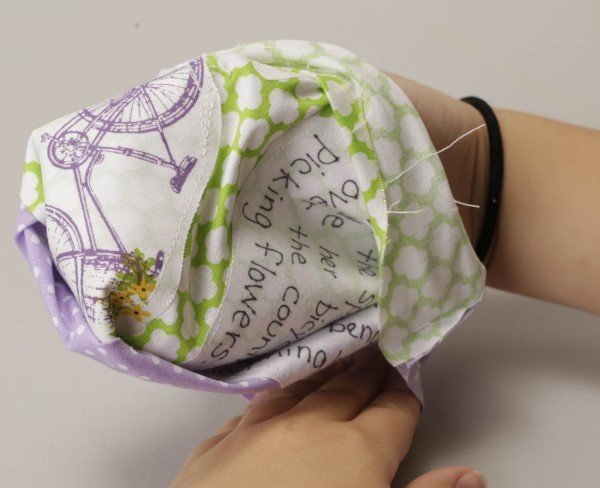
Turn the pages right-side out. Poke out the corners. Repeat steps 7–10 for each set of pages.
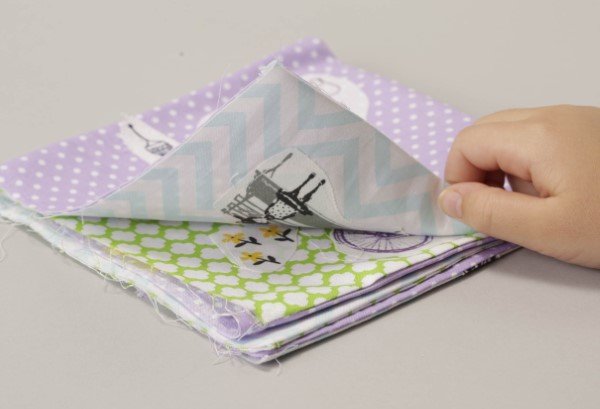
Stack the pages in order, with all the open sides together.
Maggie used some of the leftover fabric she had from making her book pages
Make the binding for the book by cutting a strip of fabric about 2 inches wide and about 7 inches long.
Wrap the strip around the open edges of the fabric pages. Using a zigzag stitch, sew the binding in place.
"I'd like to go to Paris someday.” Maggie, 8
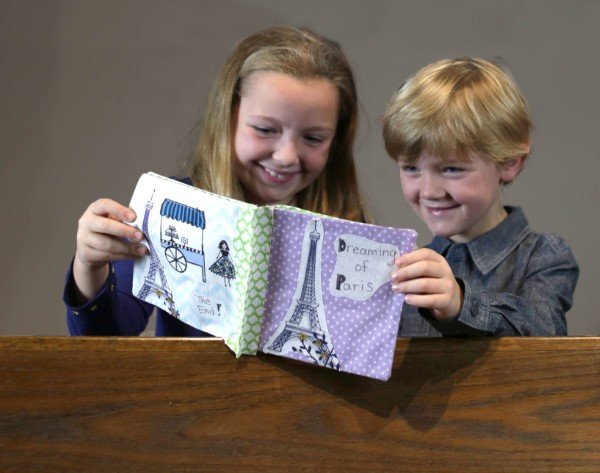
Open up and enjoy a good book.
Make It Yours
Use felt for the pages.
Sew the pages together right sides out using a zigzag stitch.
Sew the binding together by hand.
Write directly on the pages using a fabric marker.
Draw your own pictures or scenes.
Make a fabric story pillow.
Use an iron-on adhesive such as Heat ’n Bond Ultra so you don’t have to machine-appliqué.