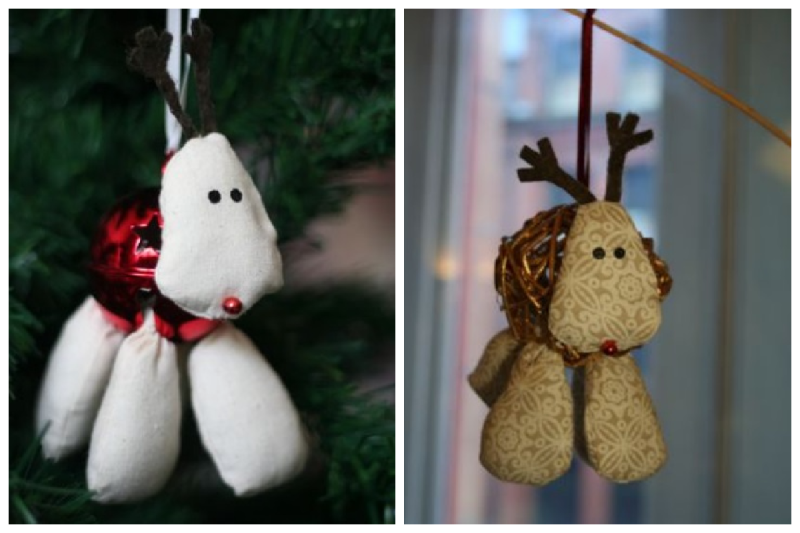
Who wouldn’t want one of these adorable jingle bell reindeer adorning their Christmas tree? Make one of your own with this super seasonal Christmas reindeer jingle bell tutorial from Lazy Crafternoons. Gather together some simple supplies and your sewing machine and get sewing!
Crochet hook or point turner (something blunt for stuffing)
Step 1 – Print and Prepare
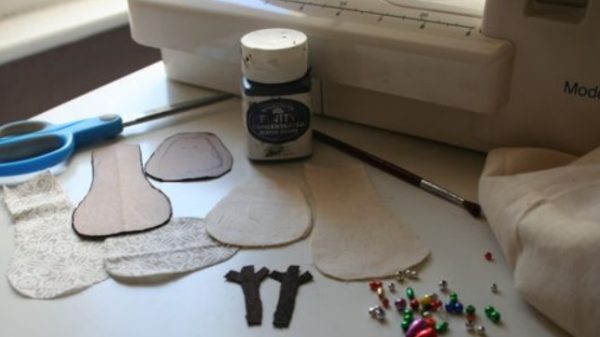
Print the pattern (bottom of this pdf) on A4 paper and cut out all of your pieces on paper or card.
Step 2 – Cut Your Fabric
You’ll need 2 head pieces and 8 leg pieces. If you are using a different sized bell you may need to adjust the sizes based on the size of your bell.
Cut out 2 antlers of brown felt or the heavy wool fabric. If you prefer you may paint the eyes on now (see step 9).
Step 3 – Prepare to Sew
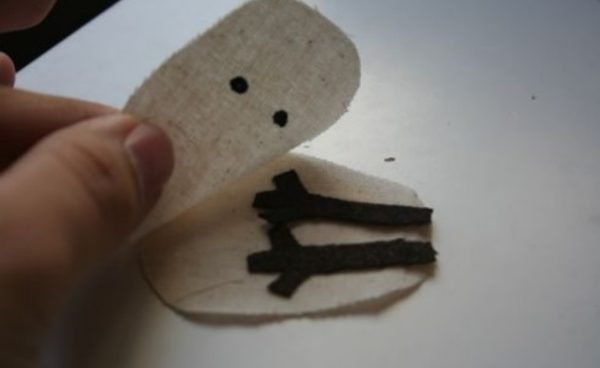
Lay the head pieces right sides together and lay the antlers in place so they are pointing inwads between the 2 layers as shown above. There are marks on the pattern for extra guidance.
Lay the leg pieces out right sides together, making 4 legs ready to sew.
Step 4 – Sew with a 1/4 an inch seam
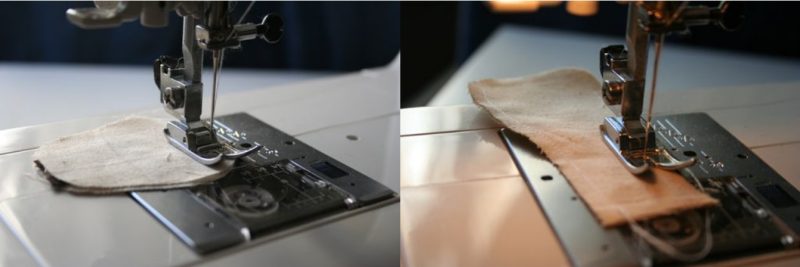
Sew around the perimeter of the head pieces with a 1/4 an inch seam. Ensure you catch the bottom of the antlers at the top of the head. Leave at least a 1/2 an inch hole at the bottom (for turning inside out).
Sew legs around the permimeter, leaving the top end open (see pattern for guidance)
Step 5 – Turn out and press
Using a large crochet hook or something with a blunt end, turn the pieces out and press.
Step 6 – Stuff it!
Stuff the head and legs with wadding. Stuff the legs only in the base, leave the upper bit empty.
Step 7 – Cut and Tie
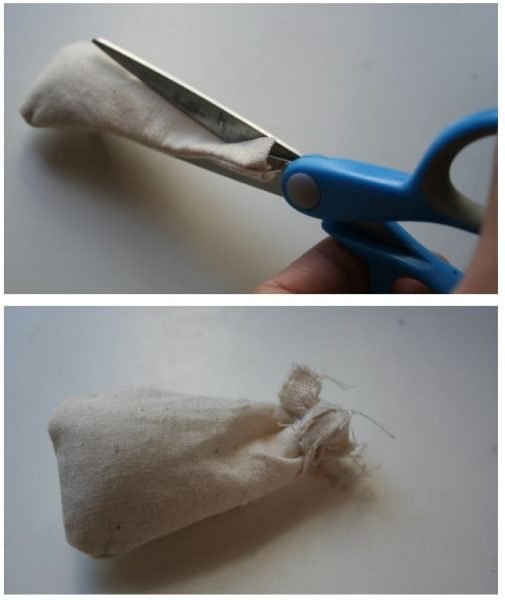
Cut legs directly down the middle of the upper leg, topping where the shape balloons out. Tie sides together tightly in a double knot.
Step 8 – Assemble
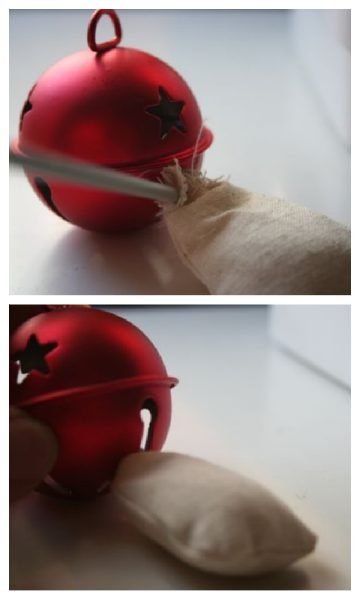
Using the blunt end of your crochet hook, stuff the legs into the 4 holes of the bell so the knots fit inside and the legs slide through the grooves in the bell to rest at the bottom.
Repeat for all 4 legs.
Step 9 – Give me Face!
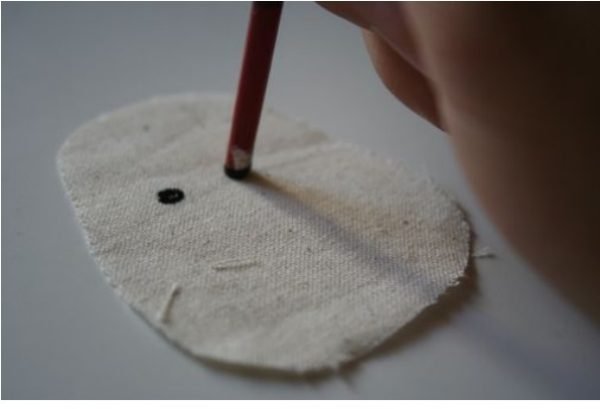
Paint the eyes onto the head piece, using the back end of the paint brush to dot them on (if preferred you can do this before sewing).
Using your hot glue gun attach a bead to the nose of your reindeer then glue the head onto the body.
Step 10 – Hung up!
String up with ribbon and hang!
Floppy Antlers? If you antlers are a bit floppy brush them with a few strokes of fabric stiffener and let dry.
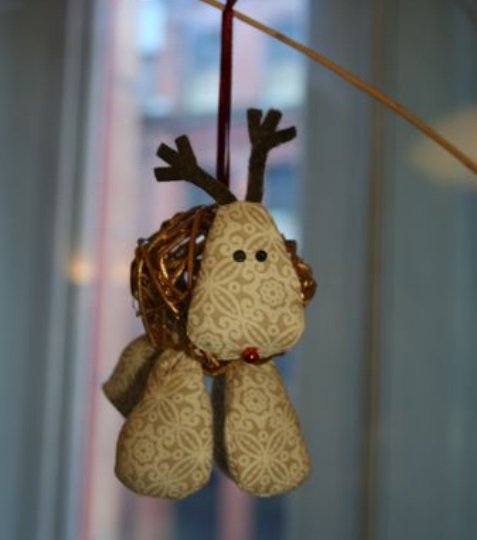
Can’t find jingle bells? Try this with a woven bauble, string bauble or other similar decorations.