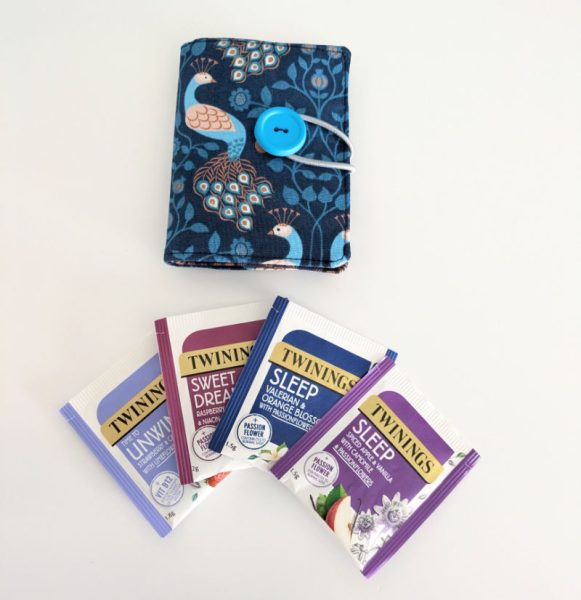
This tea bag holder project was written by Claire Mackaness who runs Beautiful Things Craft and sewing classes in Brentwood, Essex. She teaches both online and in person sewing classes.
The tea bag case is one of the best things I have ever made and used. I started making these back in 2005 when I began selling handmade products at craft fairs and they have always been my most popular item. Even today when I mainly teach classes I still have a basket of them on my counter to entice tea drinking customers.
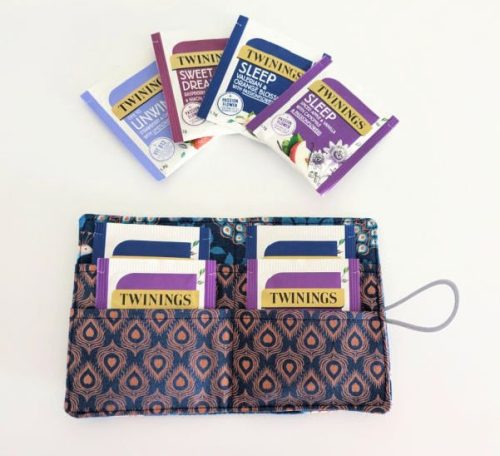
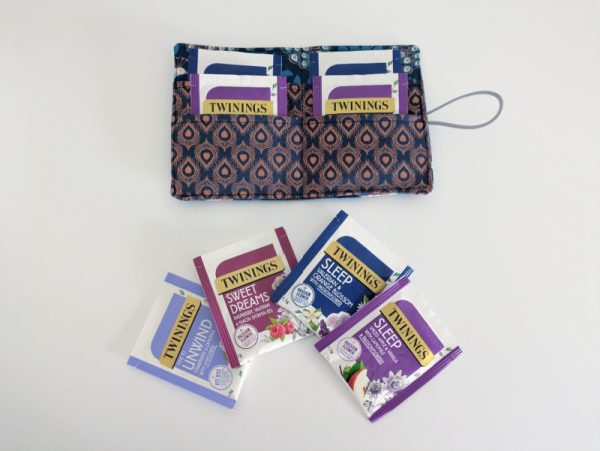
Perfect to pop in your handbag if you are a herbal tea drinker or perhaps you can only have decaf? No more old sandwich bags sculling about at the bottom of your bag, you can now have somewhere to store your bags in style.
They also make great gifts for tea lovers in your family or at work or as stocking fillers or gifts to sew for secret santas. They are quick and easy to make so suitable for beginners as well as more experienced stitchers.
You will need
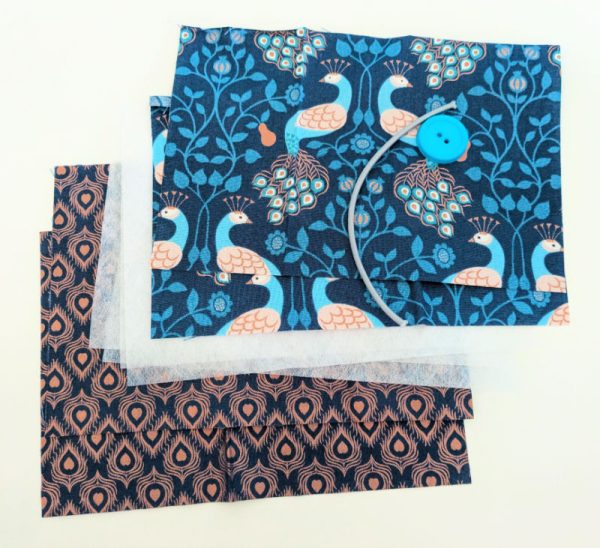
A button, A hair bobble or thin piece of elastic, A fat quarter of funky fabric A fat quarter of plain coloured cotton or a coordinating fabric. A fat quarter of lightweight interfacing Rotary cutter or scissors, ruler, pins/fabric clips and thread.
You can get all those supplies at a great price from our website sponsors Pound Fabrics.
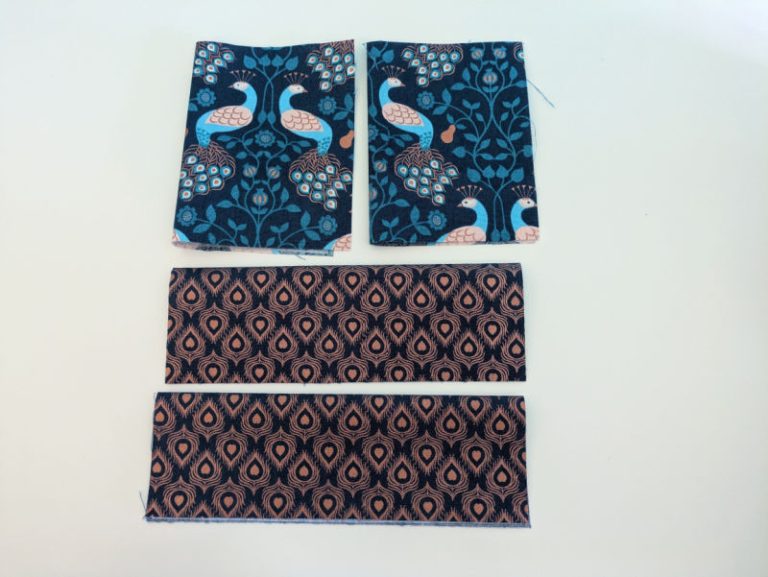
Cut out 2 rectangles of fabric from both fabrics measuring 7.5” x 5” plus 4 rectangles of the same size from your interfacing. Attach the interfacing to the back of each rectangle following the manufacturer’s instructions (or we have a guide to using fusible interfacing here).
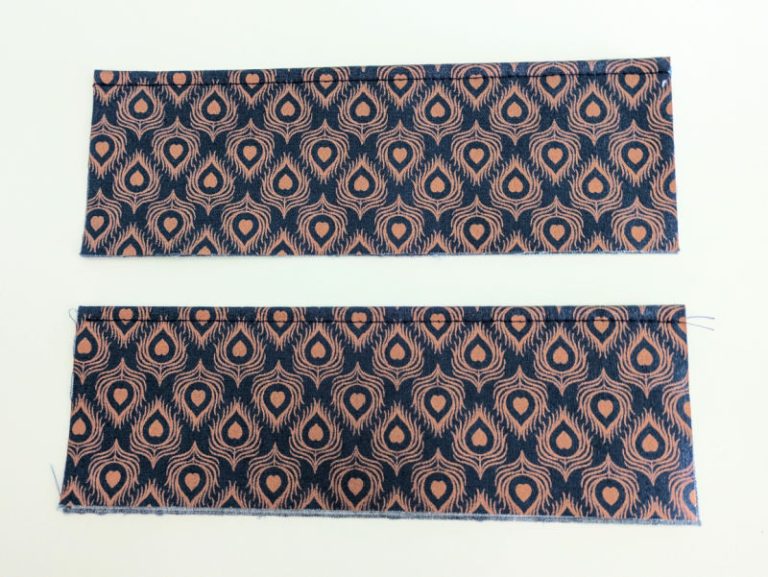
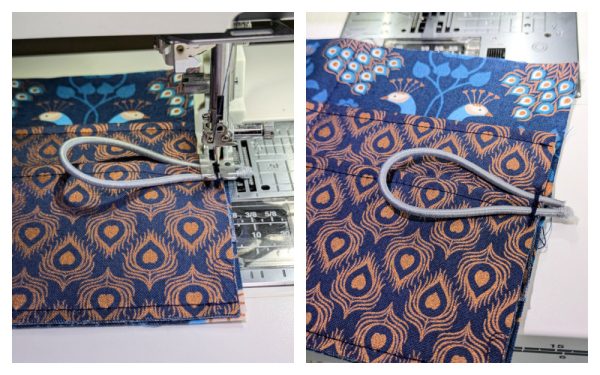
Fold your plain rectangles in half lengthways so that the thickness is doubled as per the image above right.
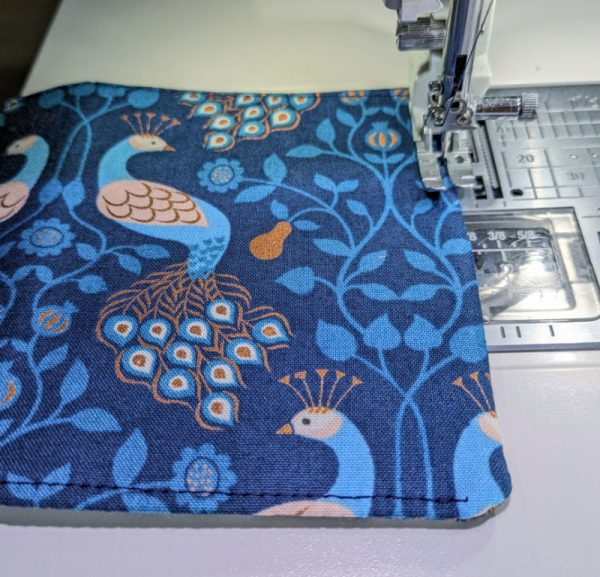
Top stitch along the folded edge of each plain/coordinating rectangle. This is a nice neat finishing effect and gives the fabric pockets stability to store the teabags.
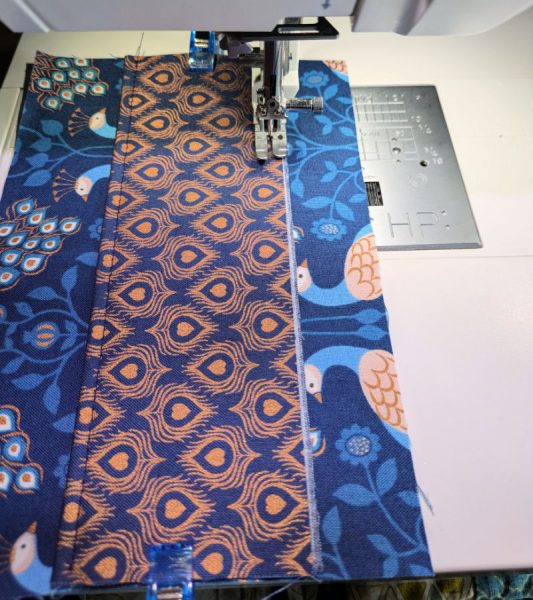
Pin one of your topstitched rectangles to one side only of your patterned fabric approx. 1” from the bottom of the fabric as shown. The raw edge should be facing the bottom of the fabric and the top stitched end towards the top.
Stitch along the bottom of that rectangle approx. ¼ inch away from the bottom edge securing it to the backing fabric.
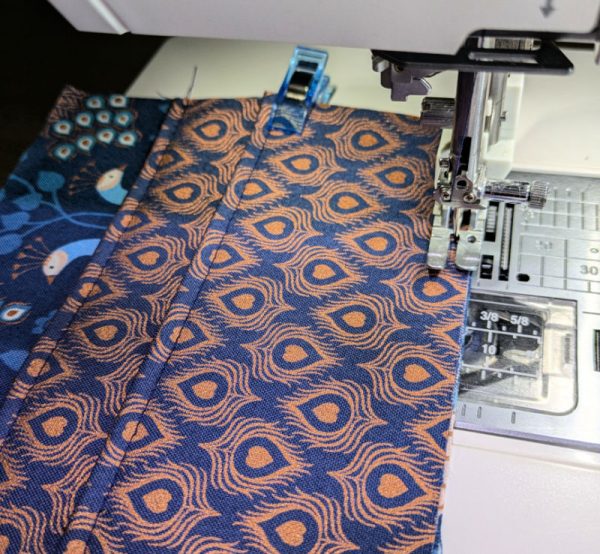
Pin the 2nd rectangle on top and line up the two bottom edges. Stitch in place just a little bit under ¼” from the edge so that the stitches will not show when the final item is put together using a ¼” seam allowance
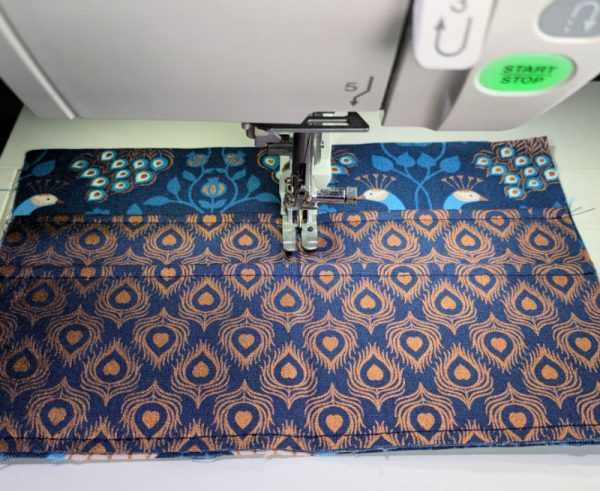
Fold your teabag holder in half and press so that you can find the centre line. Stitch down it from the top of the pockets to the bottom remembering to put a back tack in to start so that it does not unravel. I decided to stitch from the top so the line runs right down the centre. Either option will work, it just depends on your preferred aesthetic.
Position your elastic hair bobble folded in half or a piece of elastic on the edge of your pouch and baste in place within the ¼” seam allowance. I find the easiest way to do this is to put my needle down into 1 side of the elastic and push the other side up flush with the point of my needlework scissors once my presser foot is down. I then manually turn my handwheel a couple of stitches over it and then go back and forward a few times. Trim any excess left sticking out.
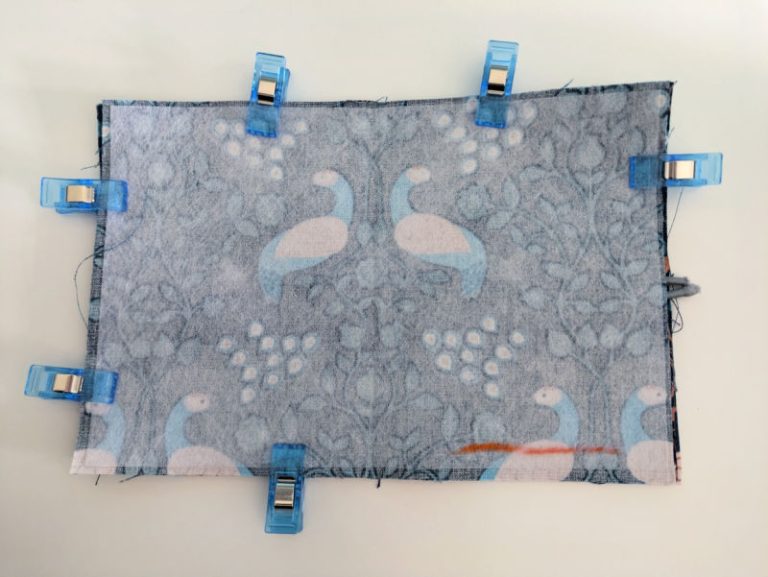
Lay your other piece of patterned fabric down on top right sides together and pin or clip in place. You can use chalk to mark your 2 inch turning gap in the bottom right corner a I have done in the image above.
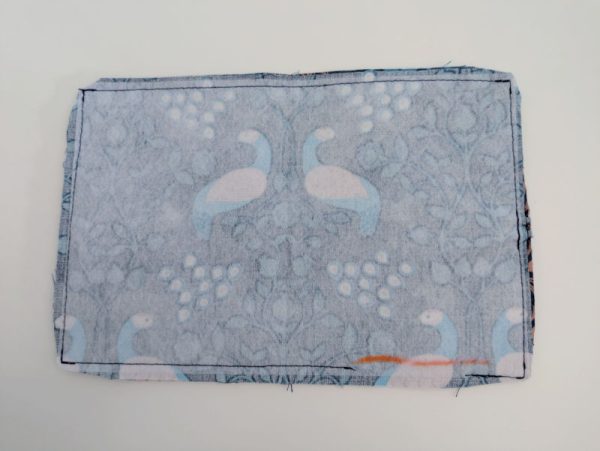
Stitch round using a ¼” seam allowance and pivoting on the corners. Leave a 2” gap to turn (you can see mine in the bottom right of this image). Remove the bulk from the corners by cutting away the excess fabric, being careful not to snip the stitches.
Turn in the right way and press carefully. Top stitch the edges at a ¼” for neatness and to close your turning hole.
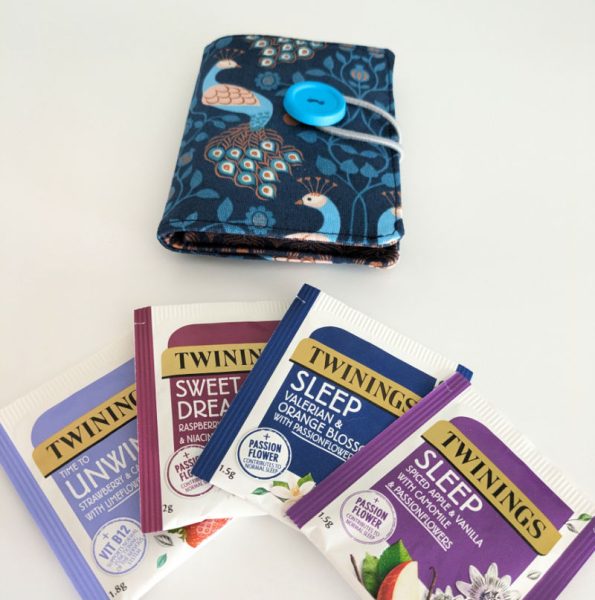
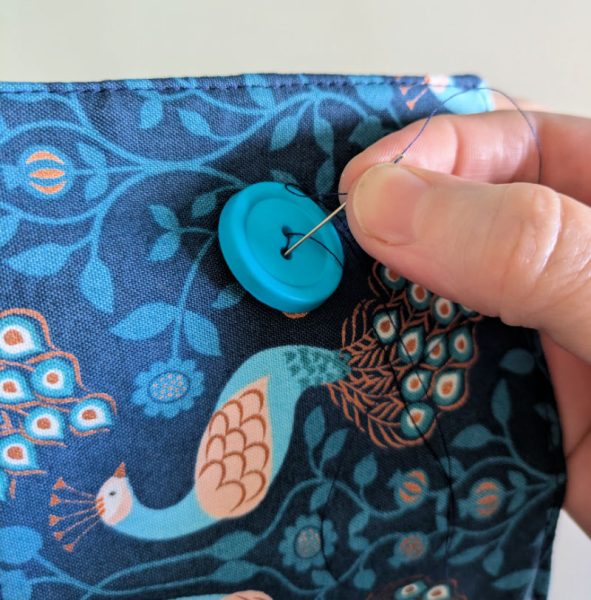
Stitch a button on to finish and then your tea bag travel case is ready to use. Fill it up and pop it in your hand bag.