Learn how to take in trousers at the waist with this extract from Mending and Alterations Made Simple by Anna de Leo. This book teaches you all the essential skills for mending, altering and fixing clothes. It will teach you essential clothing maintenance so you can get a longer life from your garments.
Tightening trousers at the waist
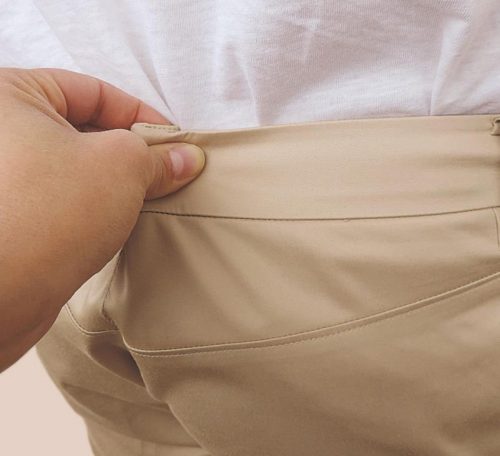
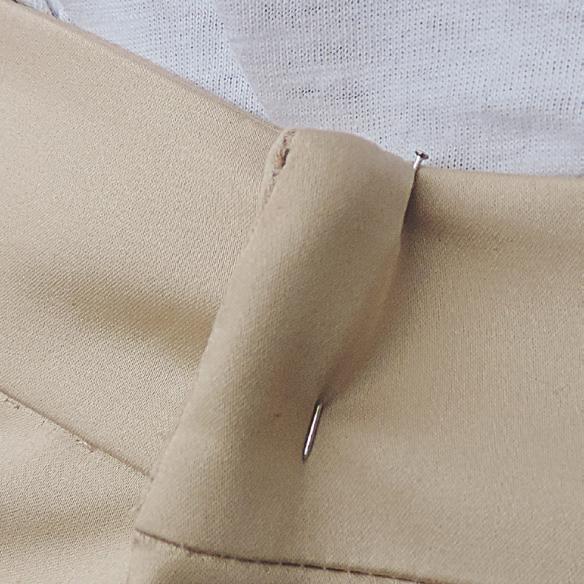
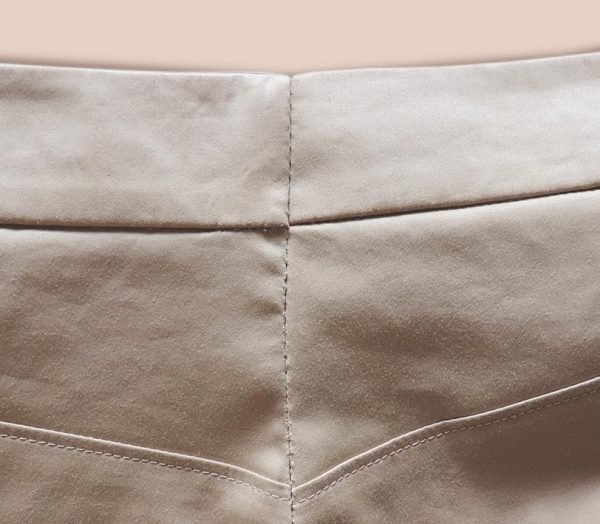
Here the repair depends on the type of trousers and the type of stitching they have on the back; however, the waist is usually taken in at the “centre back” (i.e. the middle of the back of the trousers), where there is a seam on the waistband. Before continuing, measure how much you want to take in while the trousers are being worn, secure the excess with a pin.
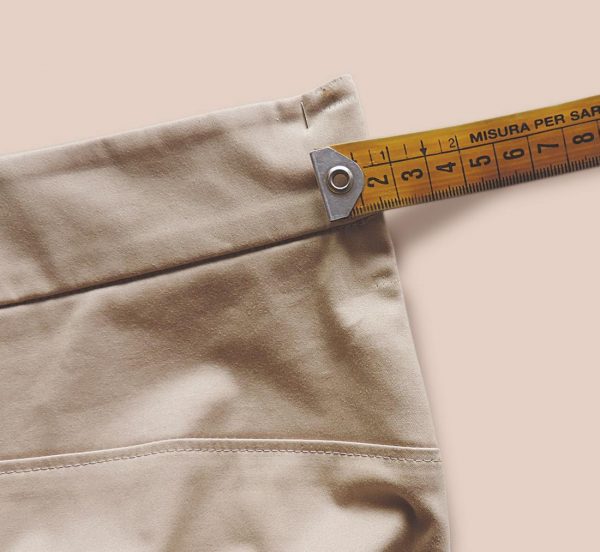
Finally measure the amount to be taken in.
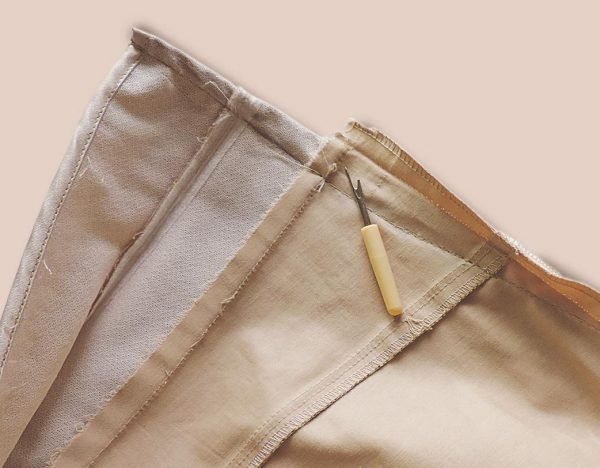
For classic men’s trousers you normally turn them inside out and simply unpick the inner waistband from the trousers
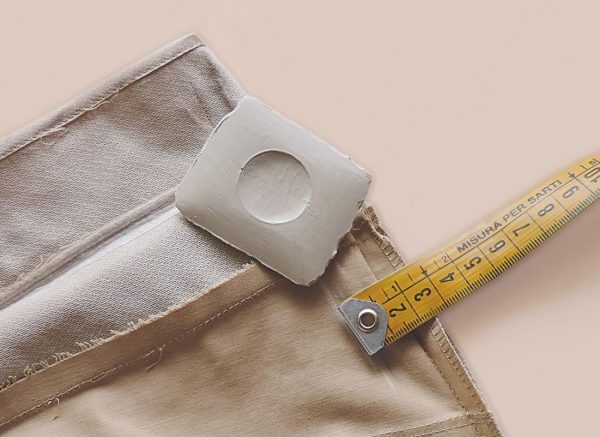
On the waist, on the wrong side of the trousers, mark the amount to take in with chalk, for example two times 1 cm, or 2 cm total.
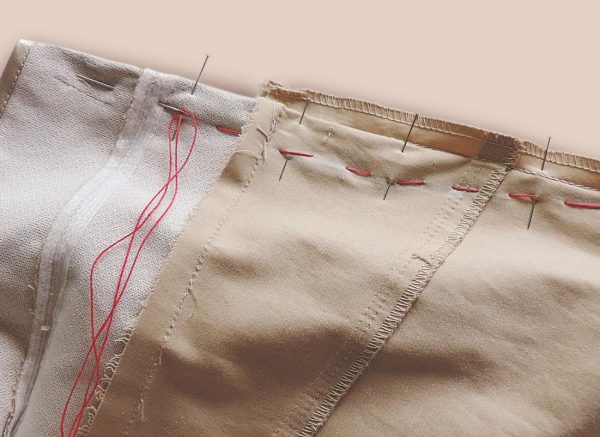
Baste after pinning the part to be tightened.
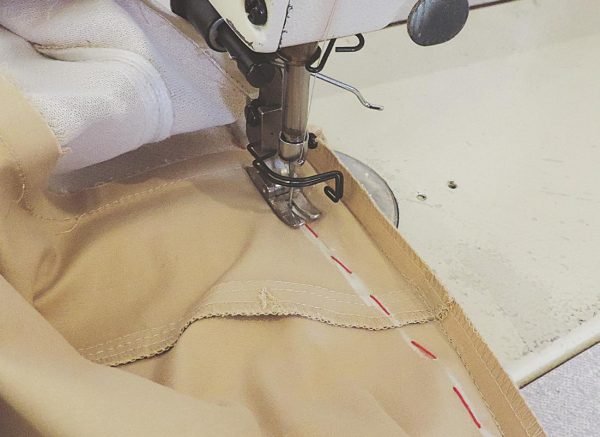
Then, starting from a few dozen centimetres down the old seam, start to stitch towards the chalk mark you made on the waist and continue along the waistband
Unpick the old seam.
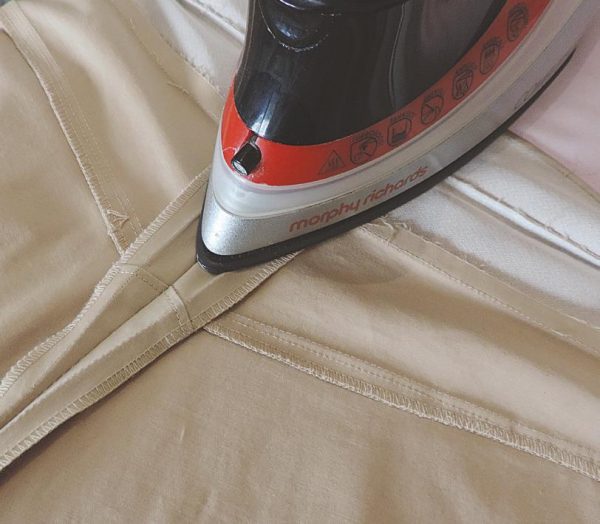
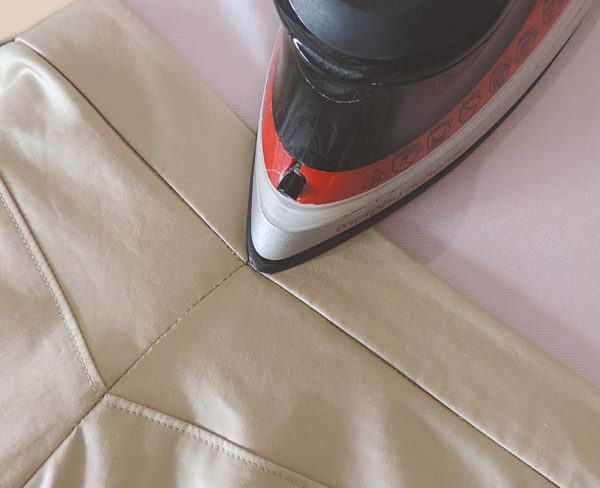
Iron the open seam allowances
When doing the stitching to take in the trousers you must make sure that the seams on the waistband match up.
Iron the trousers again.
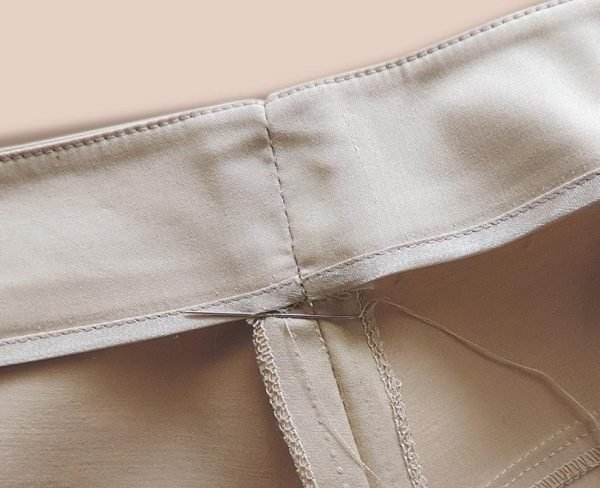
Use an invisible stitch on the wrong side of the trousers to close up the waistband.
TIP – Some particularly delicate fabrics risk getting the so-called “glossy effect” when ironed, so place a cotton cloth between the iron and the fabric.
Mending and Alterations Made Simple: A Complete Guide to Clothes Repair is available from most good bookshops.
Image copyright: Anna De Leo
Extract used with the permission of the publishers Hoaki Books.
For other mending or alteration tutorials please visit our techniques page and click the alterations & repairs tag.