
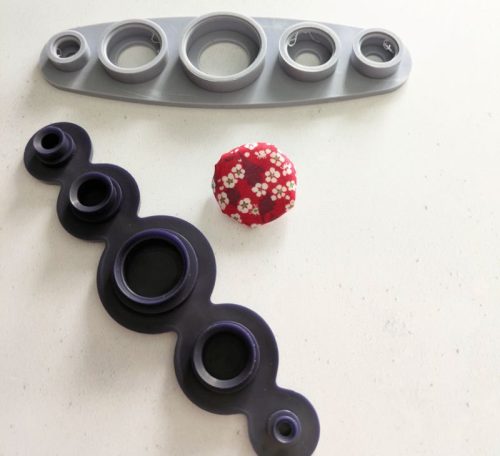
This self covered button making tutorial features tools from Prym and Liberty fabrics from Sewbox.
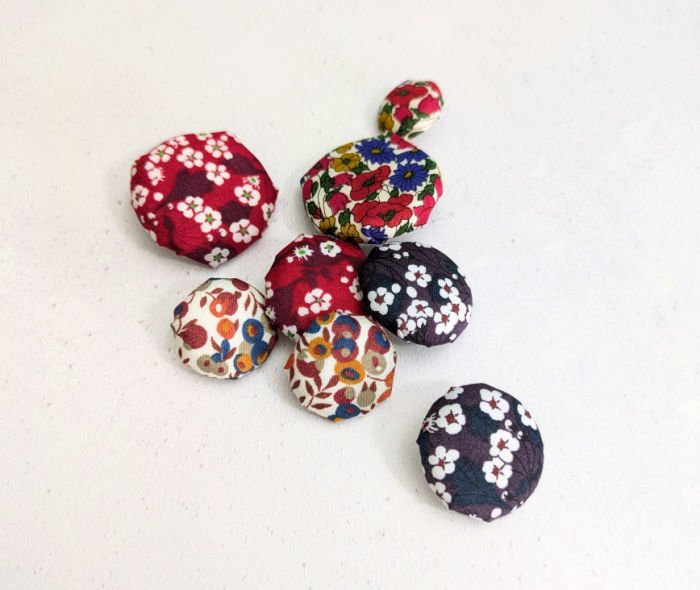
No more searching to find the perfect button to match your project. In this button making tutorial we’ll show you how to make your own fabric covered buttons which will perfectly co-ordinate the fabrics you are using.
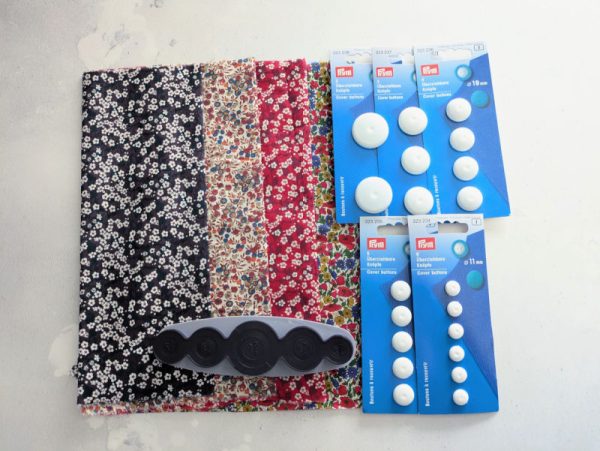
You will need:
A Prym Button Covering Tool
Prym Cover Buttons in your choice of size
Your choice of fabric. We used a pretty Liberty scrap pack from Sewbox.
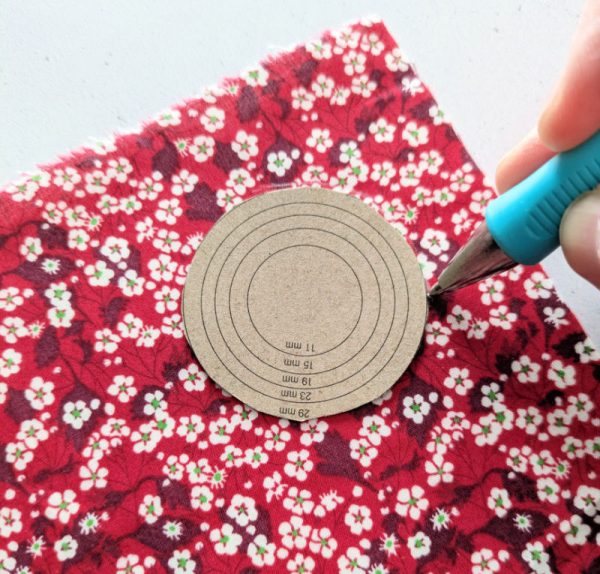
On the back of the packaging for both the button maker and the buttons you will find a circle template. Place this on your chosen fabric and draw around it.
If you want to fussy cut your fabric to ensure a certain part of the print is in the centre of your button make sure you place your template accordingly. You can use tracing paper or baking paper to trace the template off, so you can see through it when placing it on your fabric to centre the motif you desire.
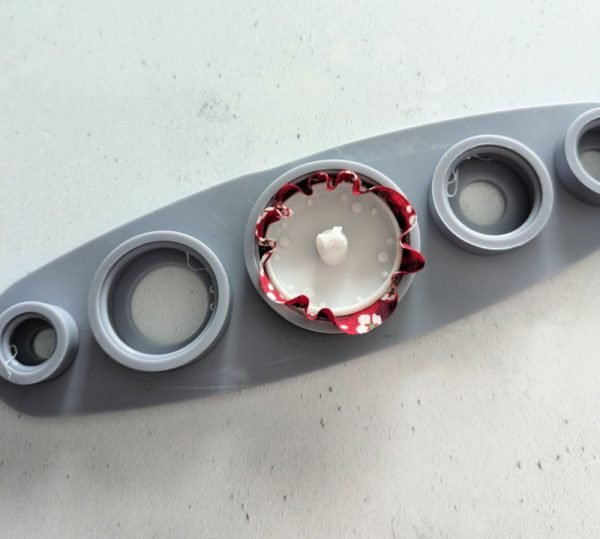
Centre your circle of fabric in the correct hole of the button making tool, the lid piece tells you which size each hole is. Place the front of the button inside the circle face down as shown above.
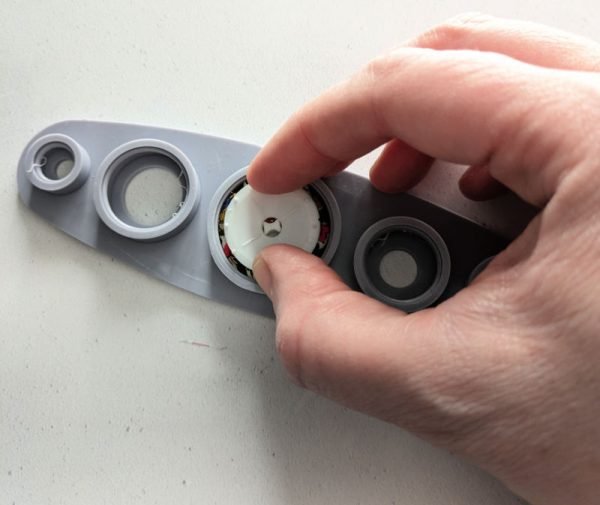
Add the button back (curved side upwards) then place the lid on the button maker pressing hard to join the 2 button pieces together.
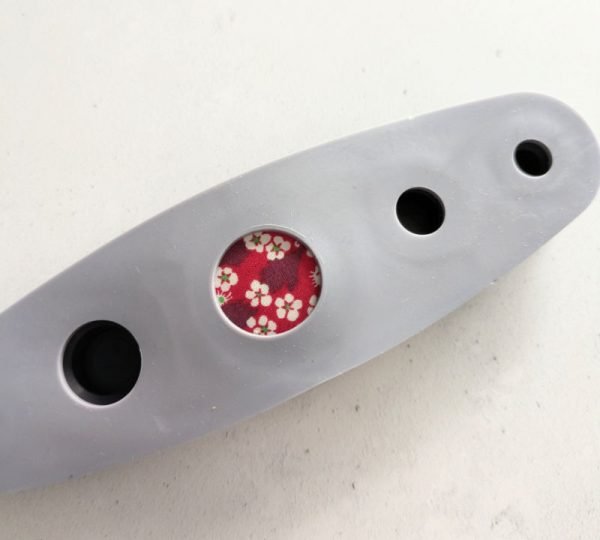
You can flip the button tool over before pressing the pieces together to check you are happy with the fabric placement before making the button.
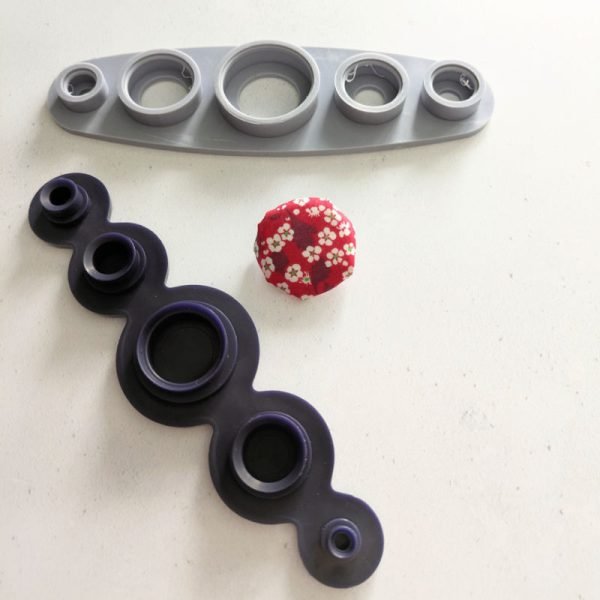
Then open it up, and use the hole on the underside to pop your button out. Now your bespoke button is ready to use!
If you find not all of the fabric is concealed under the button back you can use a seam ripper to get between the front and back pieces and push them apart. Then simply repeat the earlier steps to make it again.
Learn how to sew buttons here.