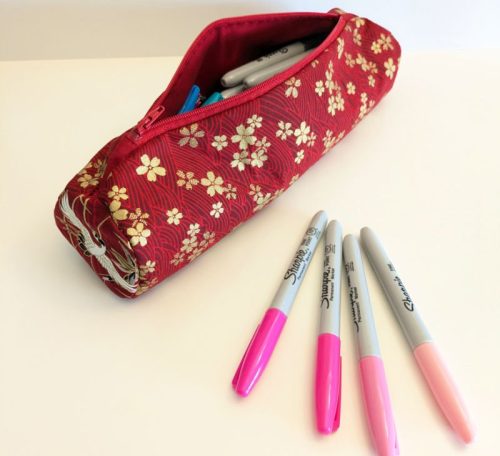
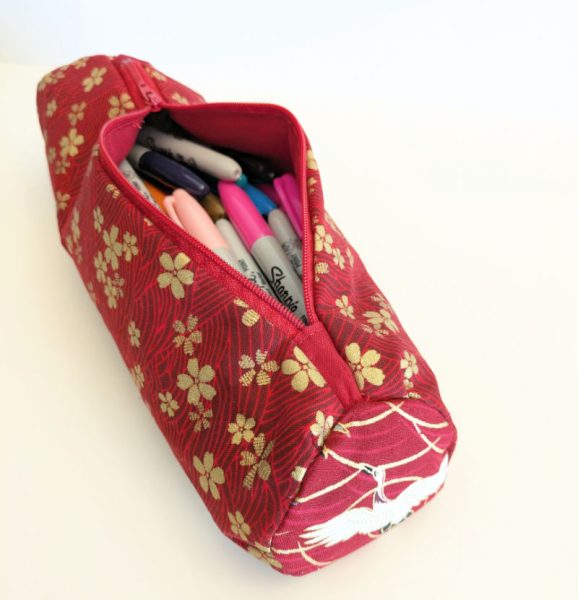
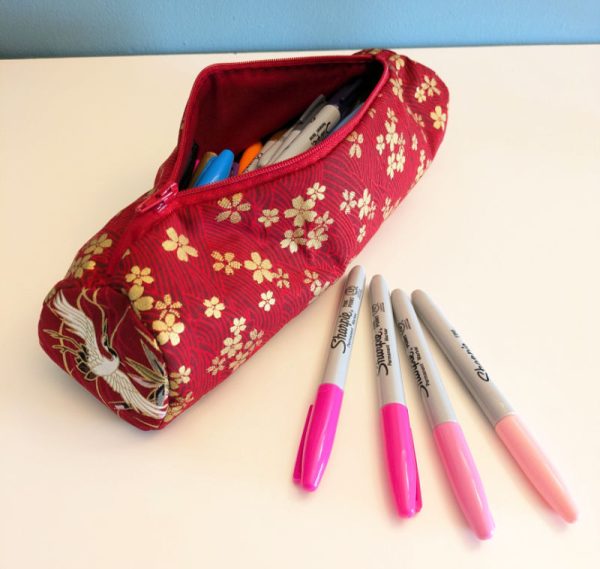
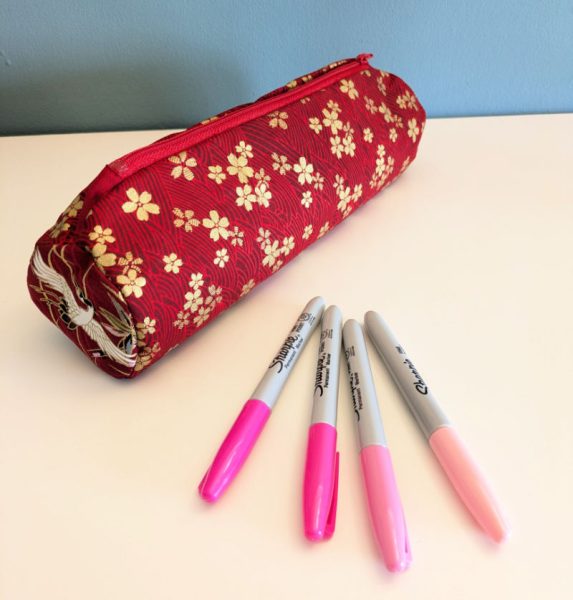
Do you want something a little different from your usual rectangular pencil case? Why not make a spacious round pencil case which will fit plenty of pens in. Follow the instructions below to make your own.
Supplies
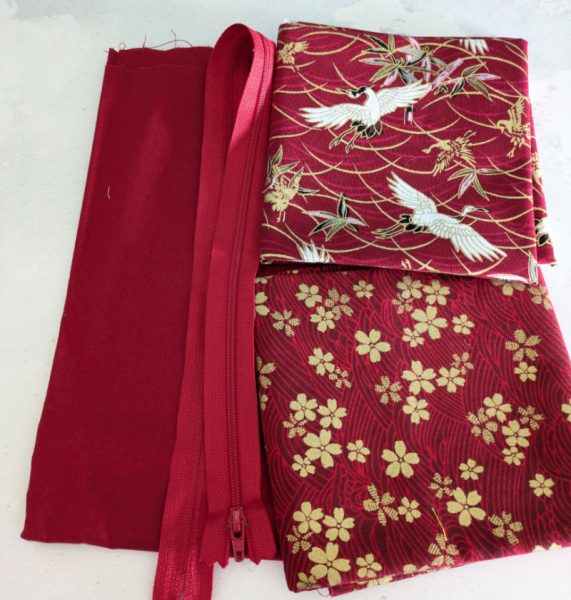
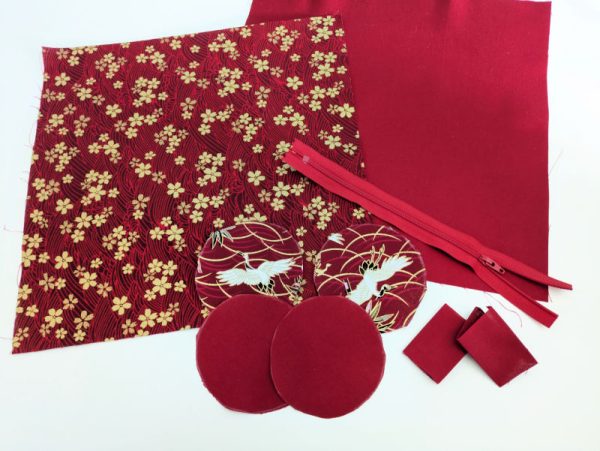
Fabric – for the outside of the pencil case (2 different fabrics if you prefer) and lining. A zip (I cut mine to 10 inches, 8-9 inches would probably be better) Firm interfacing A circle template (I have used a mug) A tape measure Thread, scissors, pins or Prym fabric clips
Instructions
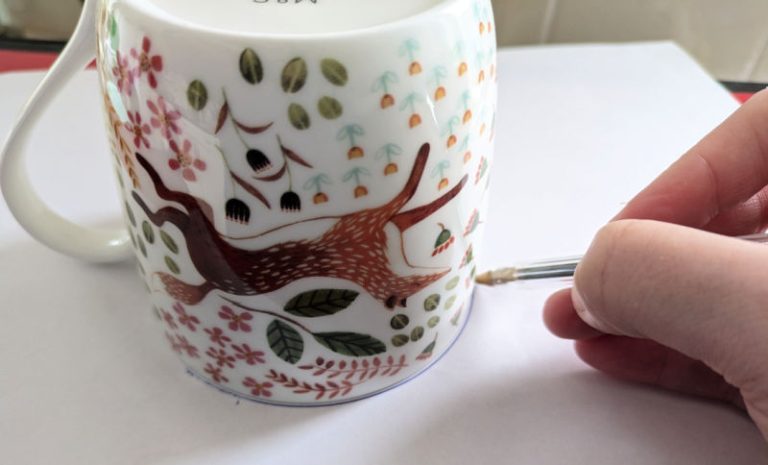
Create a circle template, use this to cut out circles of fabric, 2 x outer fabric, 2 x lining fabric, 2 x firm interfacing. I used the bottom of my mug to get my template.
You could use your template to fussy cut your fabric like we did, ensuring a bird was in the centre of each circle.
Cutting
Measure the circumference of the circle with your tape measure. Measure the length of your zip. These measurements will help you figure out the size of rectangles that you need to cut from your fabric.
Add approximately 4cm to your zip length, and 4 cm to your circle circumference.
So if for example your circumference is 11cm and your zip 14cm then you will be cutting rectangles which are 15cm wide (11 + 4) and 18cm (14 + 4) long.
Using these measurements cut rectangles of fabric for the outer layer, lining and interfacing.
Also cut 2 smaller rectangles (approx.4/ 5cm by 10cm), these will cover the ends of your zip. You now have all your pieces ready to sew.
Attach the interfacing to your exterior fabrics, following the manufacturer’s instructions.
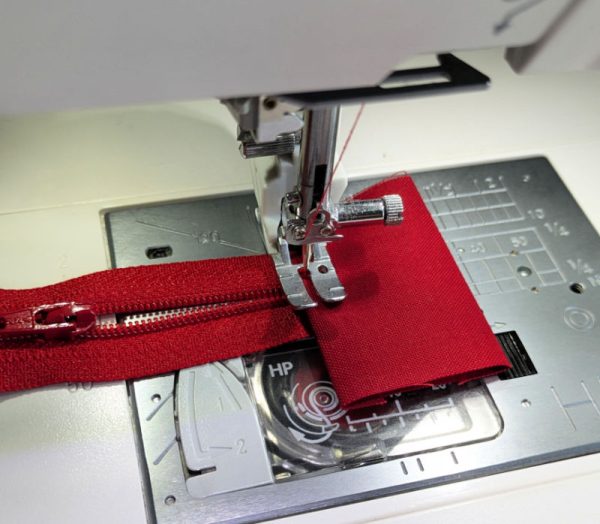
Starting with the small rectangles, Fold them in half and then fold in the cut edges. Slot the zip ends into these neatened ends and sew across the top enclosing the zip ends in fabric.
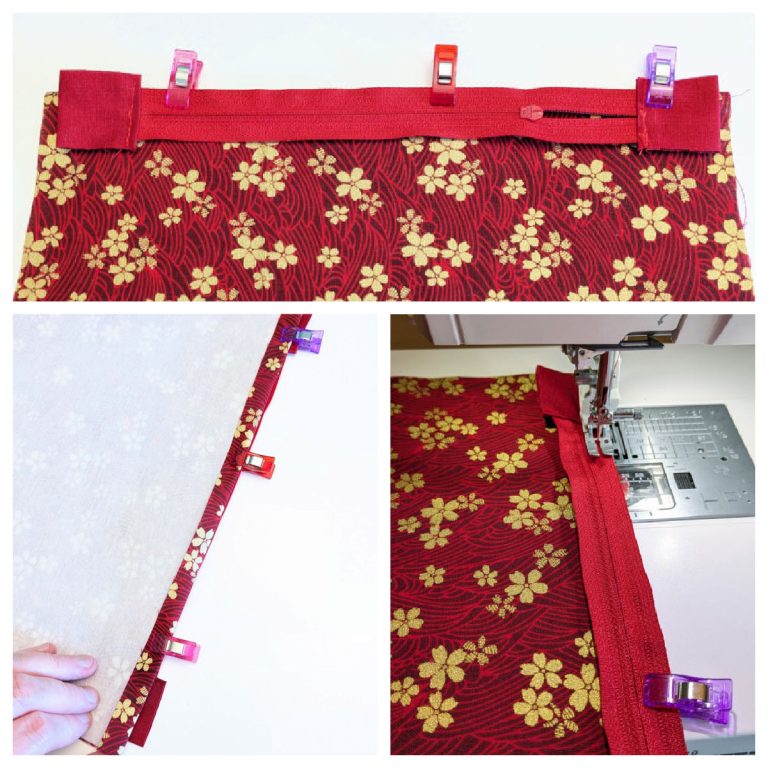
Next, take your outer fabric and fold over one zip edge (about 1 cm). Place the edge of the zip against this folded edge and sew it on. The top of the zip should be placed against the right side of the fabric.
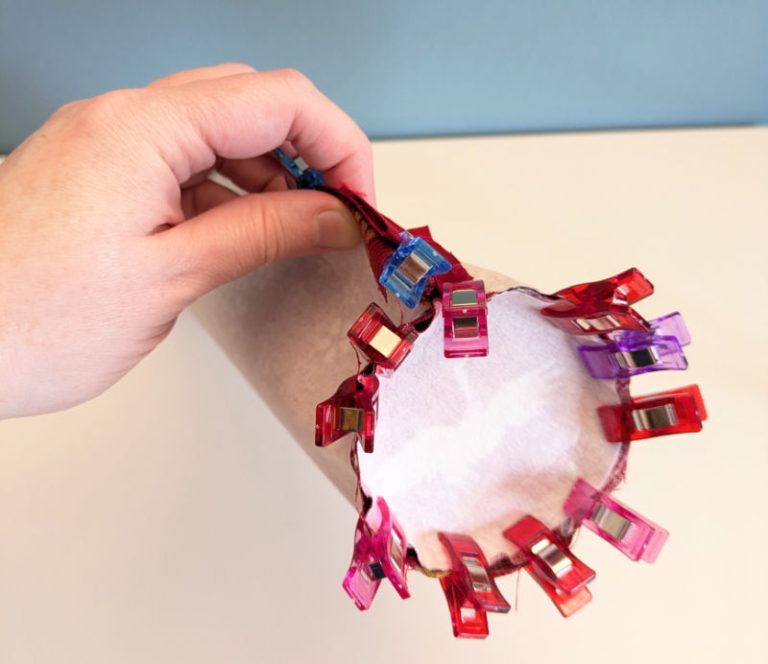
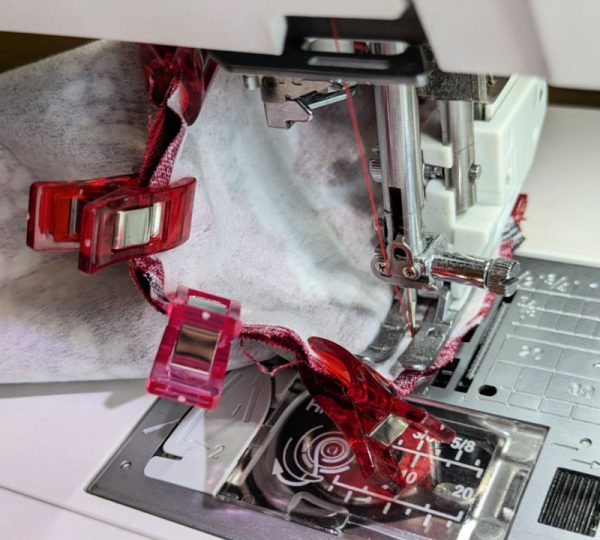
Pin/clip one of the circle ends to the main fabric piece, starting at the middle of the zip. You want the right side of the fabric facing inwards as shown below.
Work it round using your fingers until you reach the zip again. This will tell you where to fold the second edge of the fabric and where the second edge of the zip should be attached.
Then, slowly sew around the edge of the circles. Take your time, and sew a cm or 2 at a time. You will need adjust the tube of fabric every few cms, tucking it under and away from the edge that is being stitched.
Sew the other side of the zip to the other side of the fabric tube, as you will now have calculated how much you need to fold that fabric back to make the circles at the end fit. Then attach the other exterior circle to the other end of the pencil case using the same method as before.
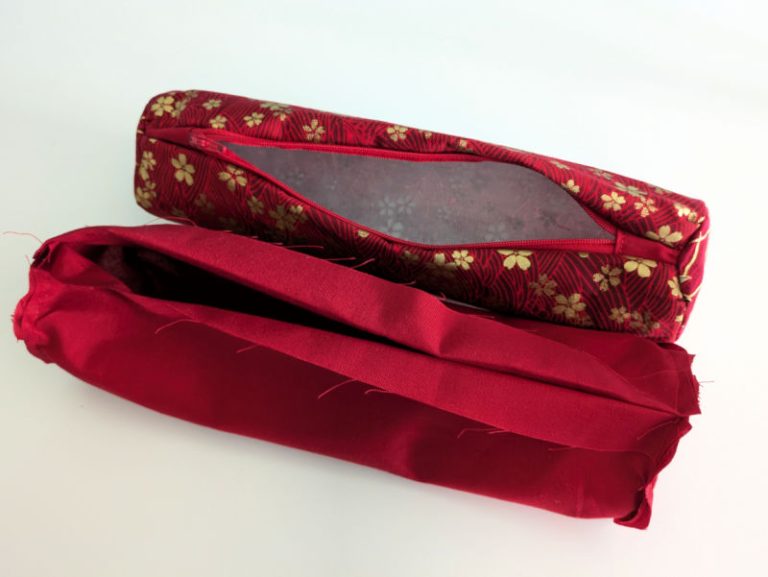
Repeat for the lining too, but you do not need to attach the zip, just fold both edges of the fabric outwards (back of fabric to back of fabric, the right side of your fabric should be on the inside for the lining.)
Make sure the zip is left open!
Front: Lining layer Back: Exterior layer
Turn the exterior layer to the correct side (this is why you need to leave the zip open).
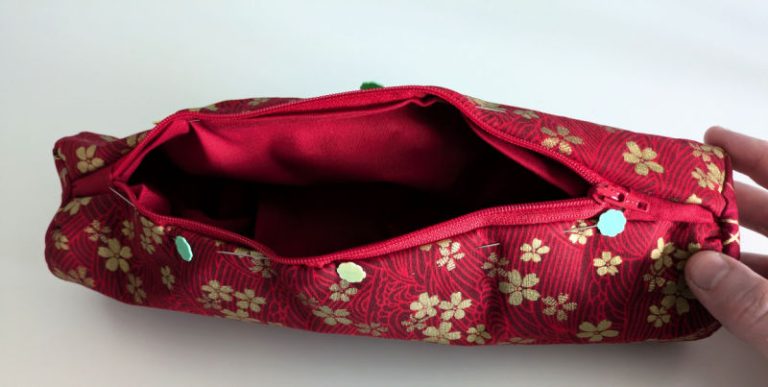
Slot the lining layer into the exterior then pin into place, so the top of the lining layer is just below the zip teeth. I find it easier to use pins for this step than fabric clips.
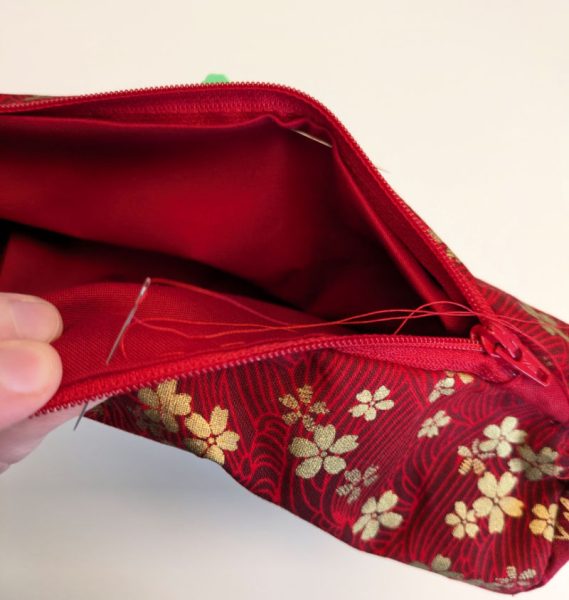
Pin the layers together along the edge of the zip. You may want to turn the whole thing inside out for this.
Then sew the 2 layers together. You can hand stitch this or machine stitch, if you are feeling brave.
Poke into shape, the interfacing should sit and hold out the circular ends.
Now admire your handy work and fill with pens and pencils!