This technique guide to sewing with striped fabrics has been written by Little Miss Fancy Frocks – the dynamic mother-daughter duo who lovingly create handcrafted clothing for adults and children. Visit their Facebook page here.
Hantex have kindly sponsored this article. Take a look here to find a stockist for their products.
Be bold and convert a simple striped fabric into an eye catching design. Below we show you several different techniques for sewing with striped fabrics to create a stunning effect. The designs created will work for dressmaking and interior projects so get creative!
You will need…
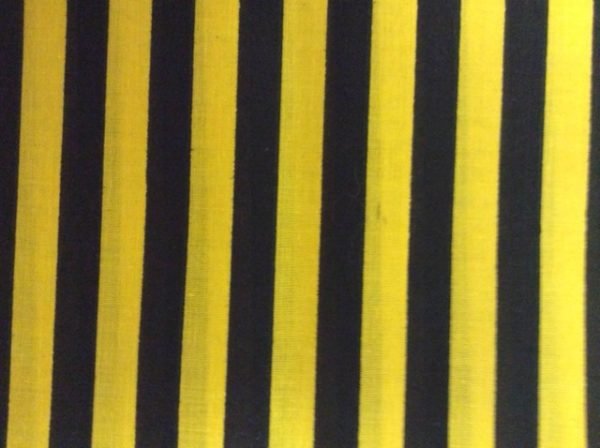
Striped fabric, the best one to use for samples is where each stripe is 1 – 2 cms wide. We used striped fabric from Hantex.
You will also need a sewing machine, thread, a pair of dressmaking scissors, paper, a fabric pen and a pair of paper scissors.
Instructions
Simple Stripes
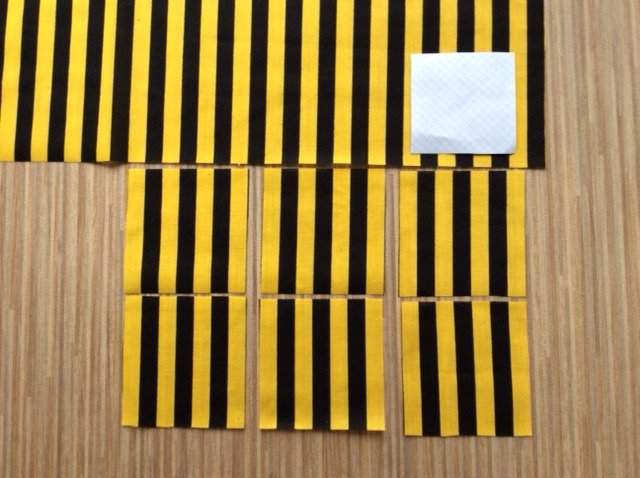
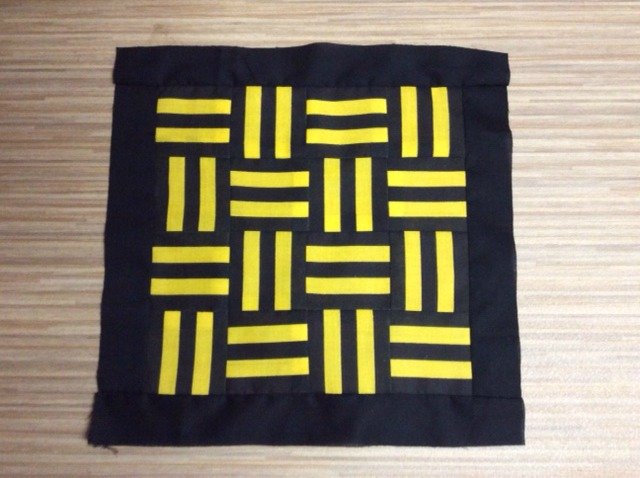
Cut out a square in paper to use as a template, or use a square quilting ruler if you have one. The square can be any size. I have used 10cm squares. Cut out squares of fabric ensuring the squares are identical; i.e. the squares shown here start and finish with a yellow stripe.
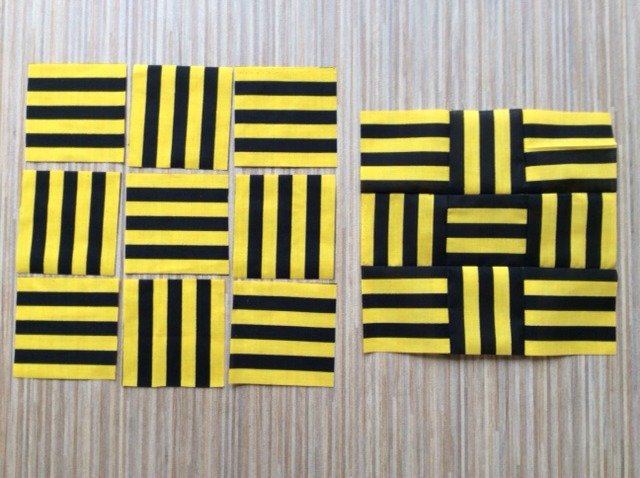
Lay the squares with the stripes alternating as shown. Stitch together as shown to form a pattern.
I have edged the design in black for greater impact. This would make a perfect cushion front.
Diamond Stripes
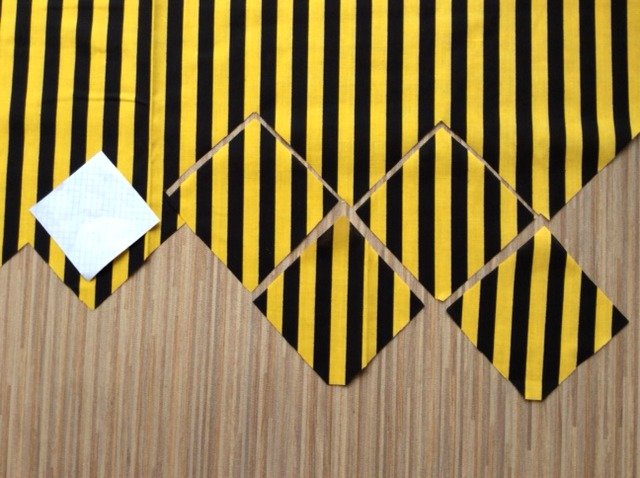
Using the same square template (at a different angle) cut diamonds in the fabric.
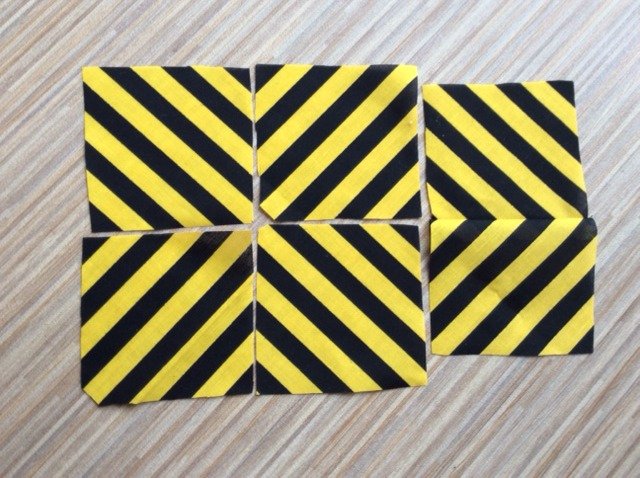
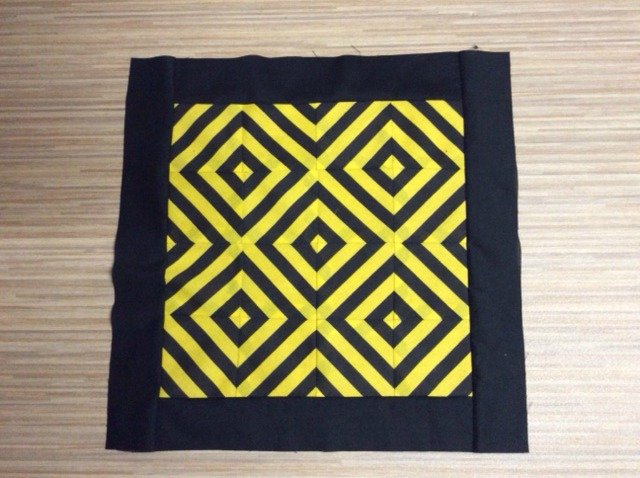
Lay the fabric squares out and join together.
I’ve added black borders to this design to create more impact.
Triangles with striped fabrics
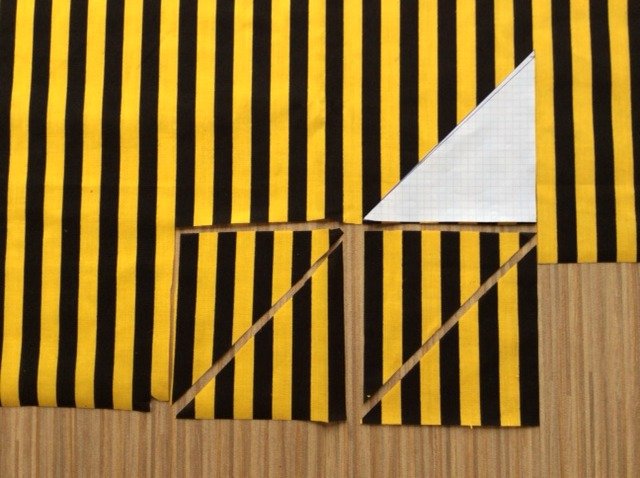
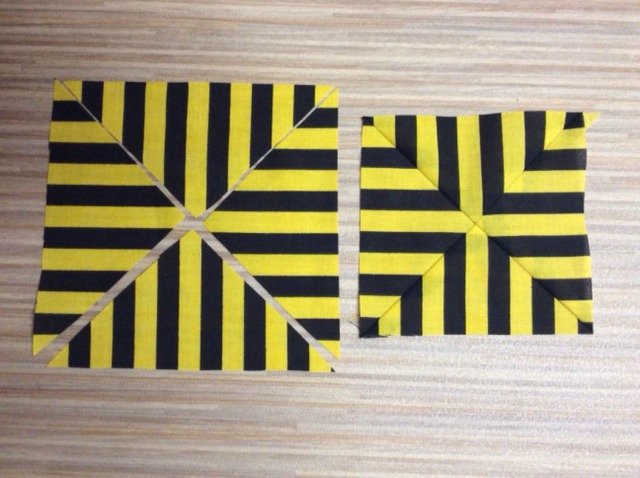
Cut a paper template by using a square and cutting in half diagonally. Again if you have a triangular quilting template you could use that instead. Cut out identical triangles, ensuring the side of the triangle starts with the same coloured stripe.
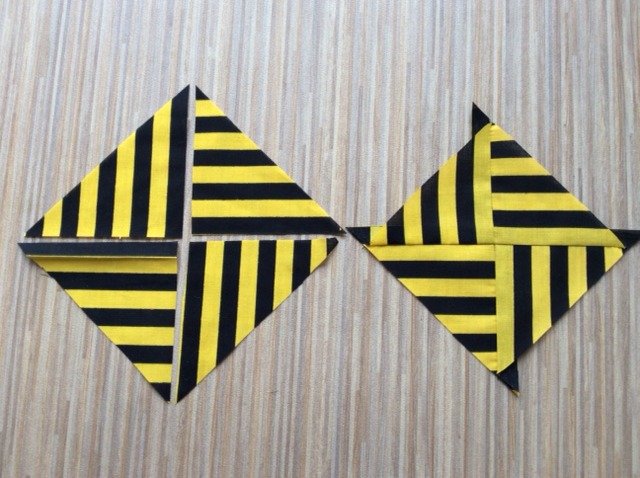
Lay the fabric triangles out and stitch together.
I have added a dividing line in black and edged in black to complete.
Alternative Triangles
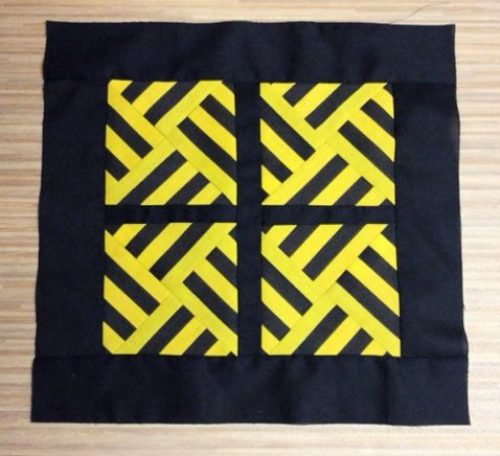
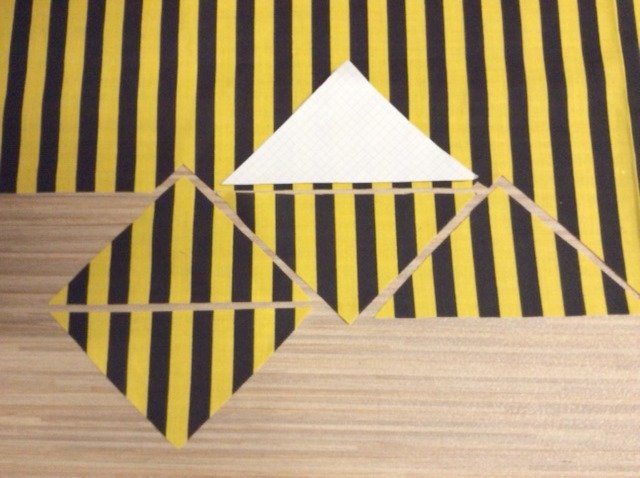
Turn the triangle template so that the longer edge is at the bottom of the striped fabric. Cut out the triangles.
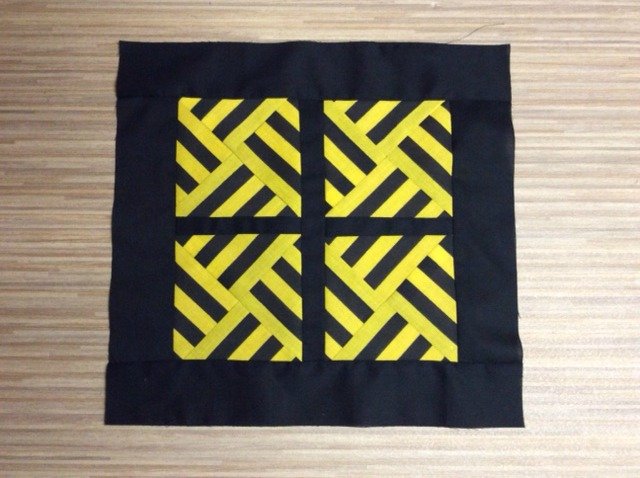
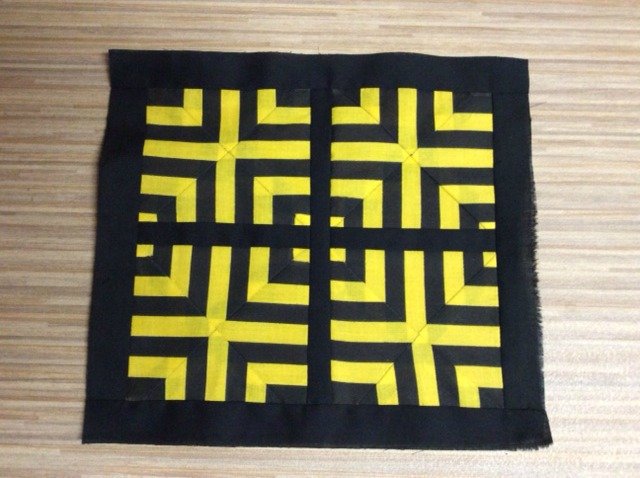
Lay the fabric triangles with the points facing each other. Stitch together.
The stitched squares can have more impact when divided and edged by black fabric.
How to sew pin tucks
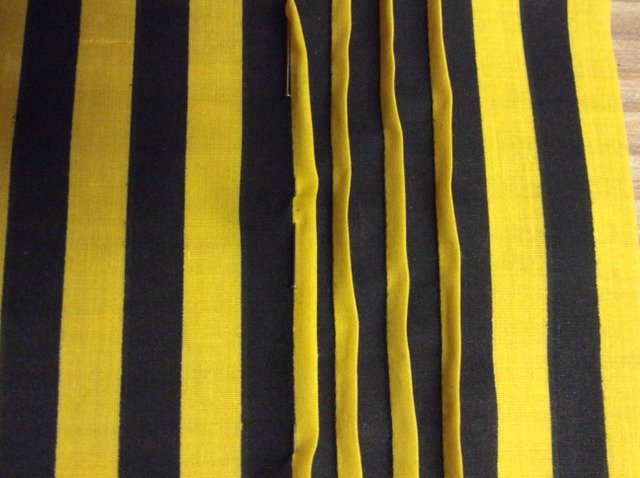
Working with alternate stripes, pin and machine stitch to form pin tucks.
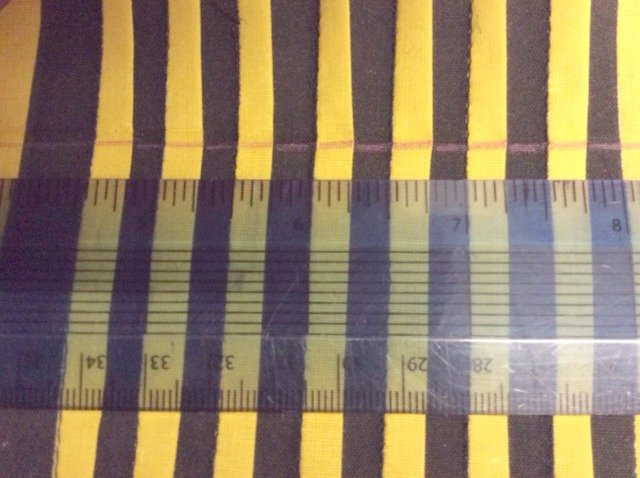
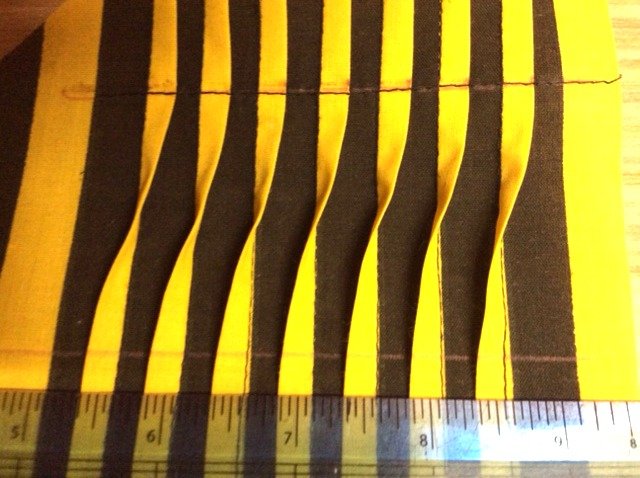
Press the pin tucks in one direction. Draw a guide line across the fabric.
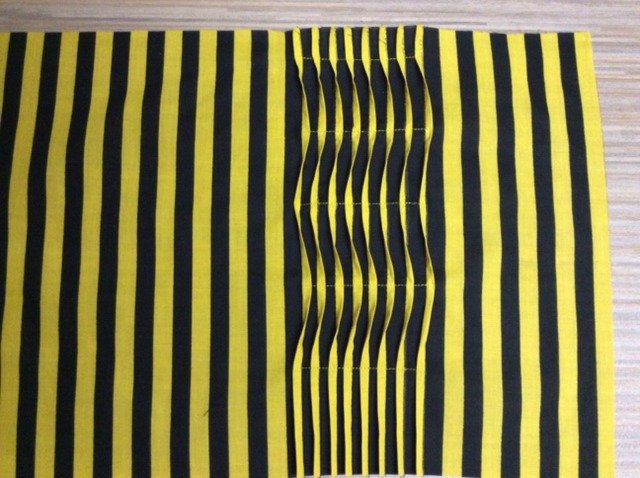
Machine stitch across the pin tucks. Press the pin tucks in the opposite direction. Move your ruler approximately 6cm down from the 1st guide line, and draw a 2nd guide line ready for stitching.
Repeat this action alternating the direction of the pin tucks.
The effect can be used for bold interiors or dressmaking; i.e. a pocket.
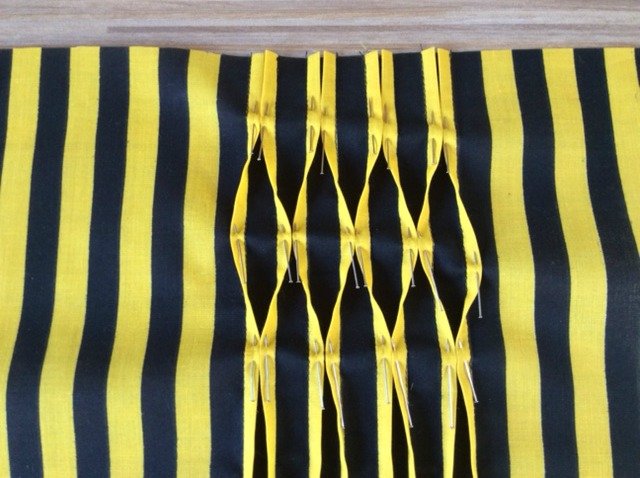
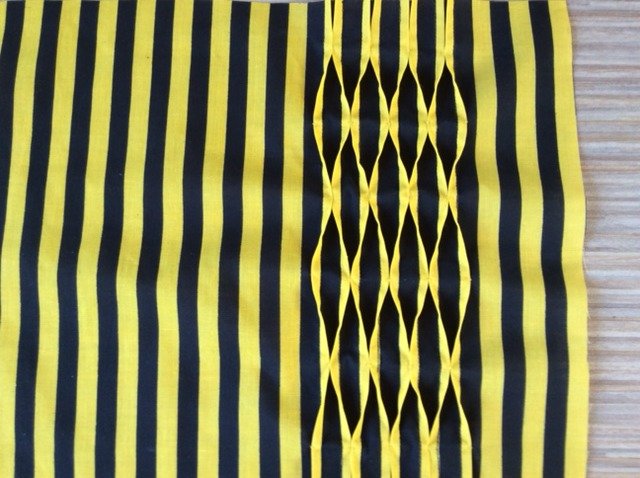
Work another sample of eight pin tucks and this time alternate the pin tucks so that they meet and they separate forming a honeycomb effect. Pin in place.